Understand and properly handle figma components
This time, we will take a closer look at the features of Figma and try to actually use it. In particular, we will cover the concepts of vectors and bitmaps to see how the objects we will deal with when creating assets are structured.
Vector vs Bitmap?
vector
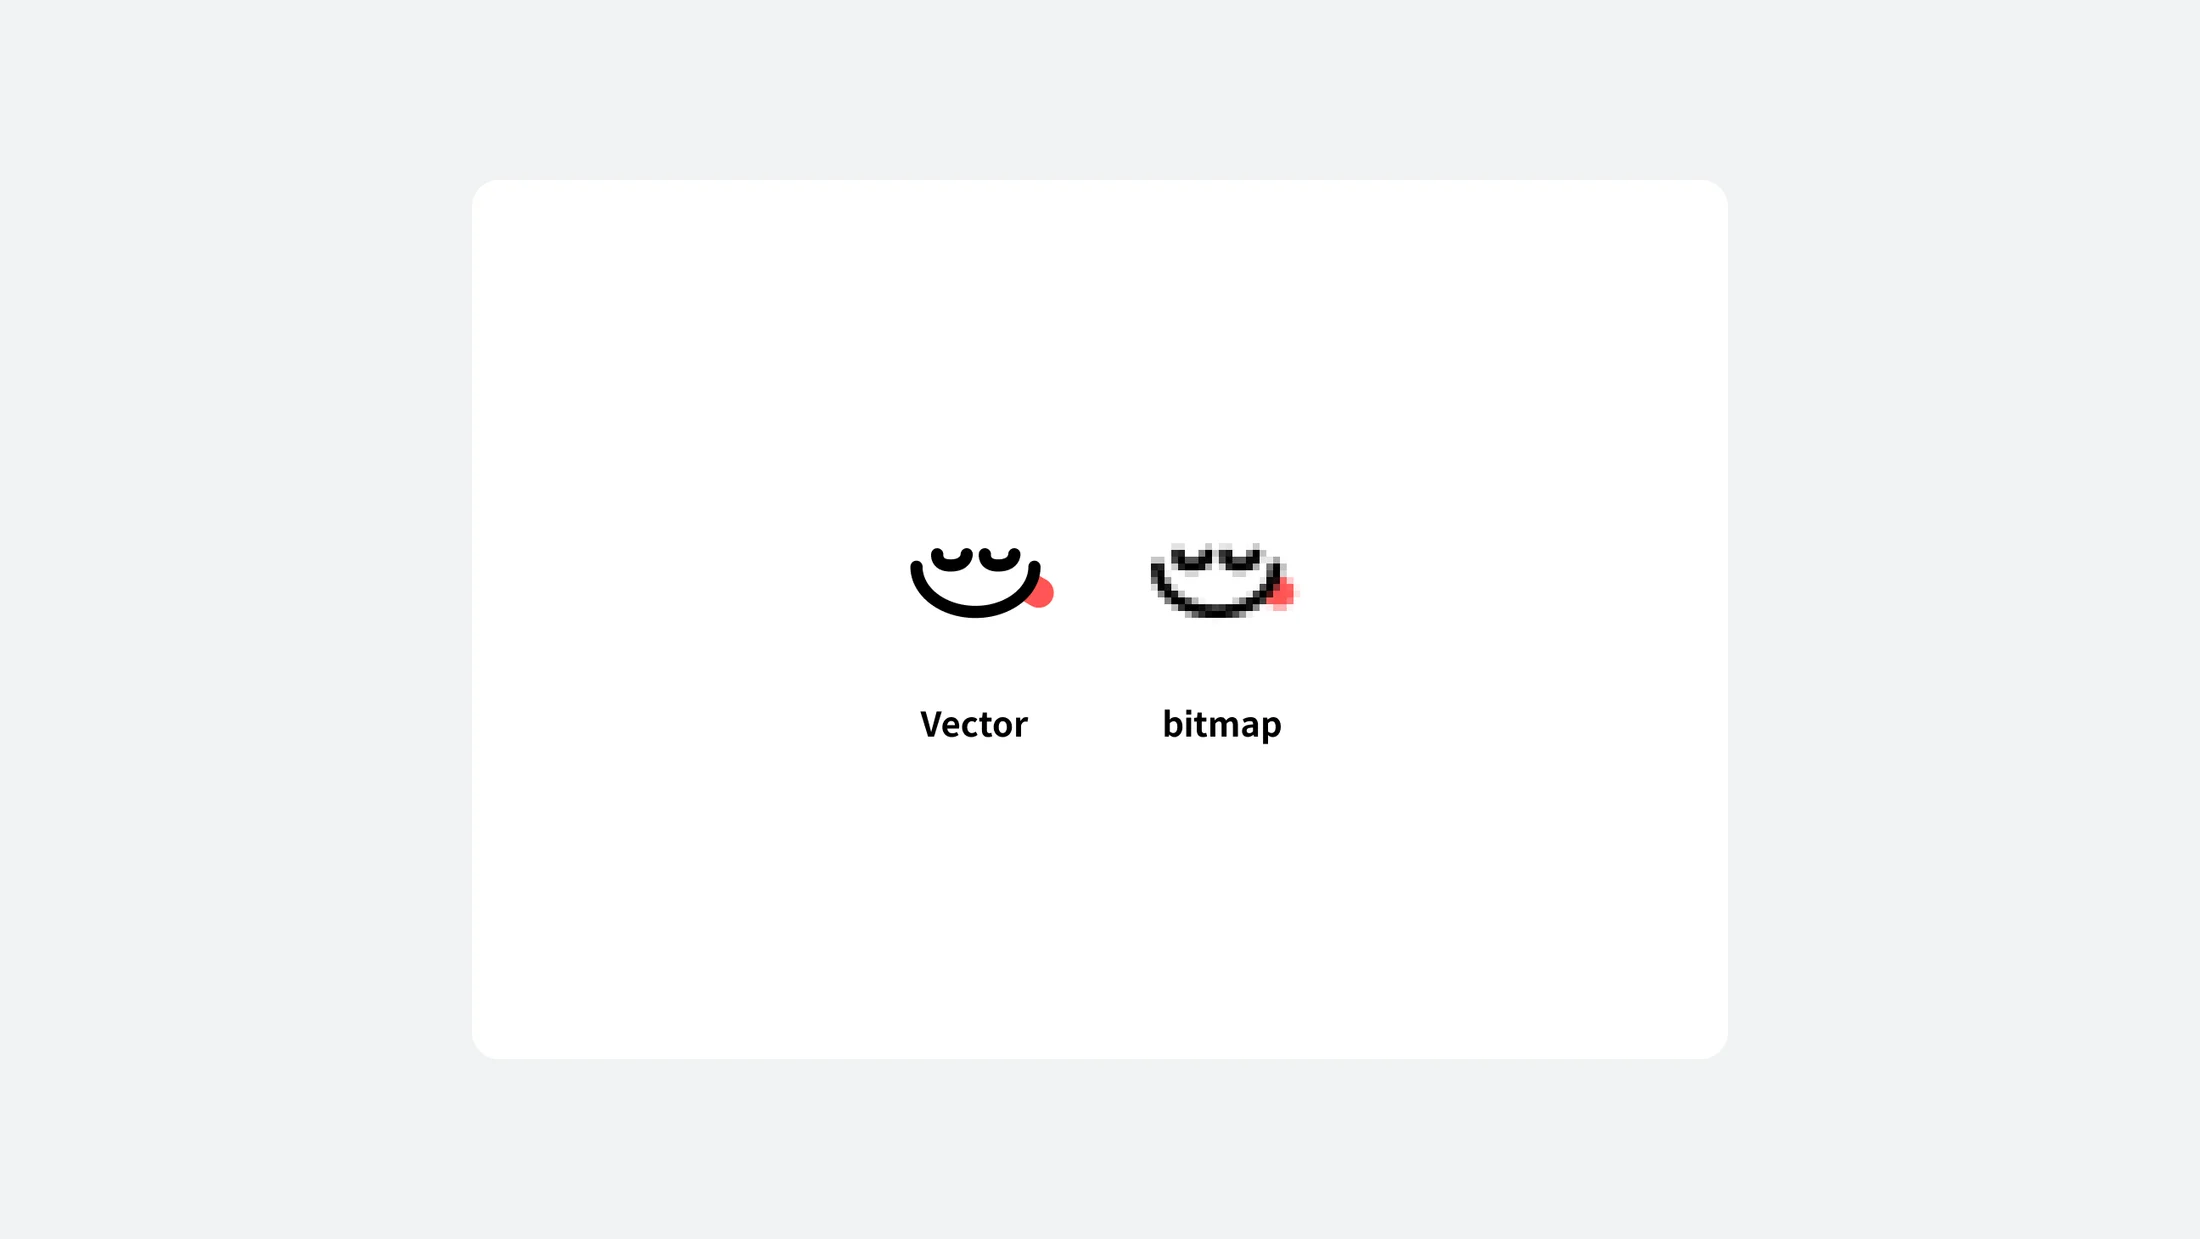
It is a geometric object made up of points/lines/faces. Because it remembers the position and color values, it does not break no matter how much you zoom in. It is effective for storing relatively simple objects such as shapes, UI, and icons. If you save a vector as a bitmap (SVG, etc.), the vector properties are lost.
Bitmap
This is a method of remembering the number of horizontal and vertical pixels of an image and the color value of each pixel. It is effective for storing photos, screenshots, complex drawings, etc. If you increase the size from the original image quality, image quality may be degraded as shown in the example image. (PNG, JPG, etc.) Bitmaps cannot be saved in vector format.
Figma is a vector-based design tool
If you use figma drawing well, you can create almost all assets needed for UI design without a separate vector drawing tool such as Illustrator. Due to the nature of UI design that must be designed in response to various device sizes, designing with vector-based tools that do not break regardless of resolution increases efficiency.
Asset
It is a general term for various graphic elements used in actual development, such as icons, logos, and images. This usually refers to elements to be extracted and managed in the form of separate files such as jpg or svg.
Object
This is a broad term for all types of objects used when designing in Figma, including shapes, text, and frames.
Don’t miss out on bitmap-based design
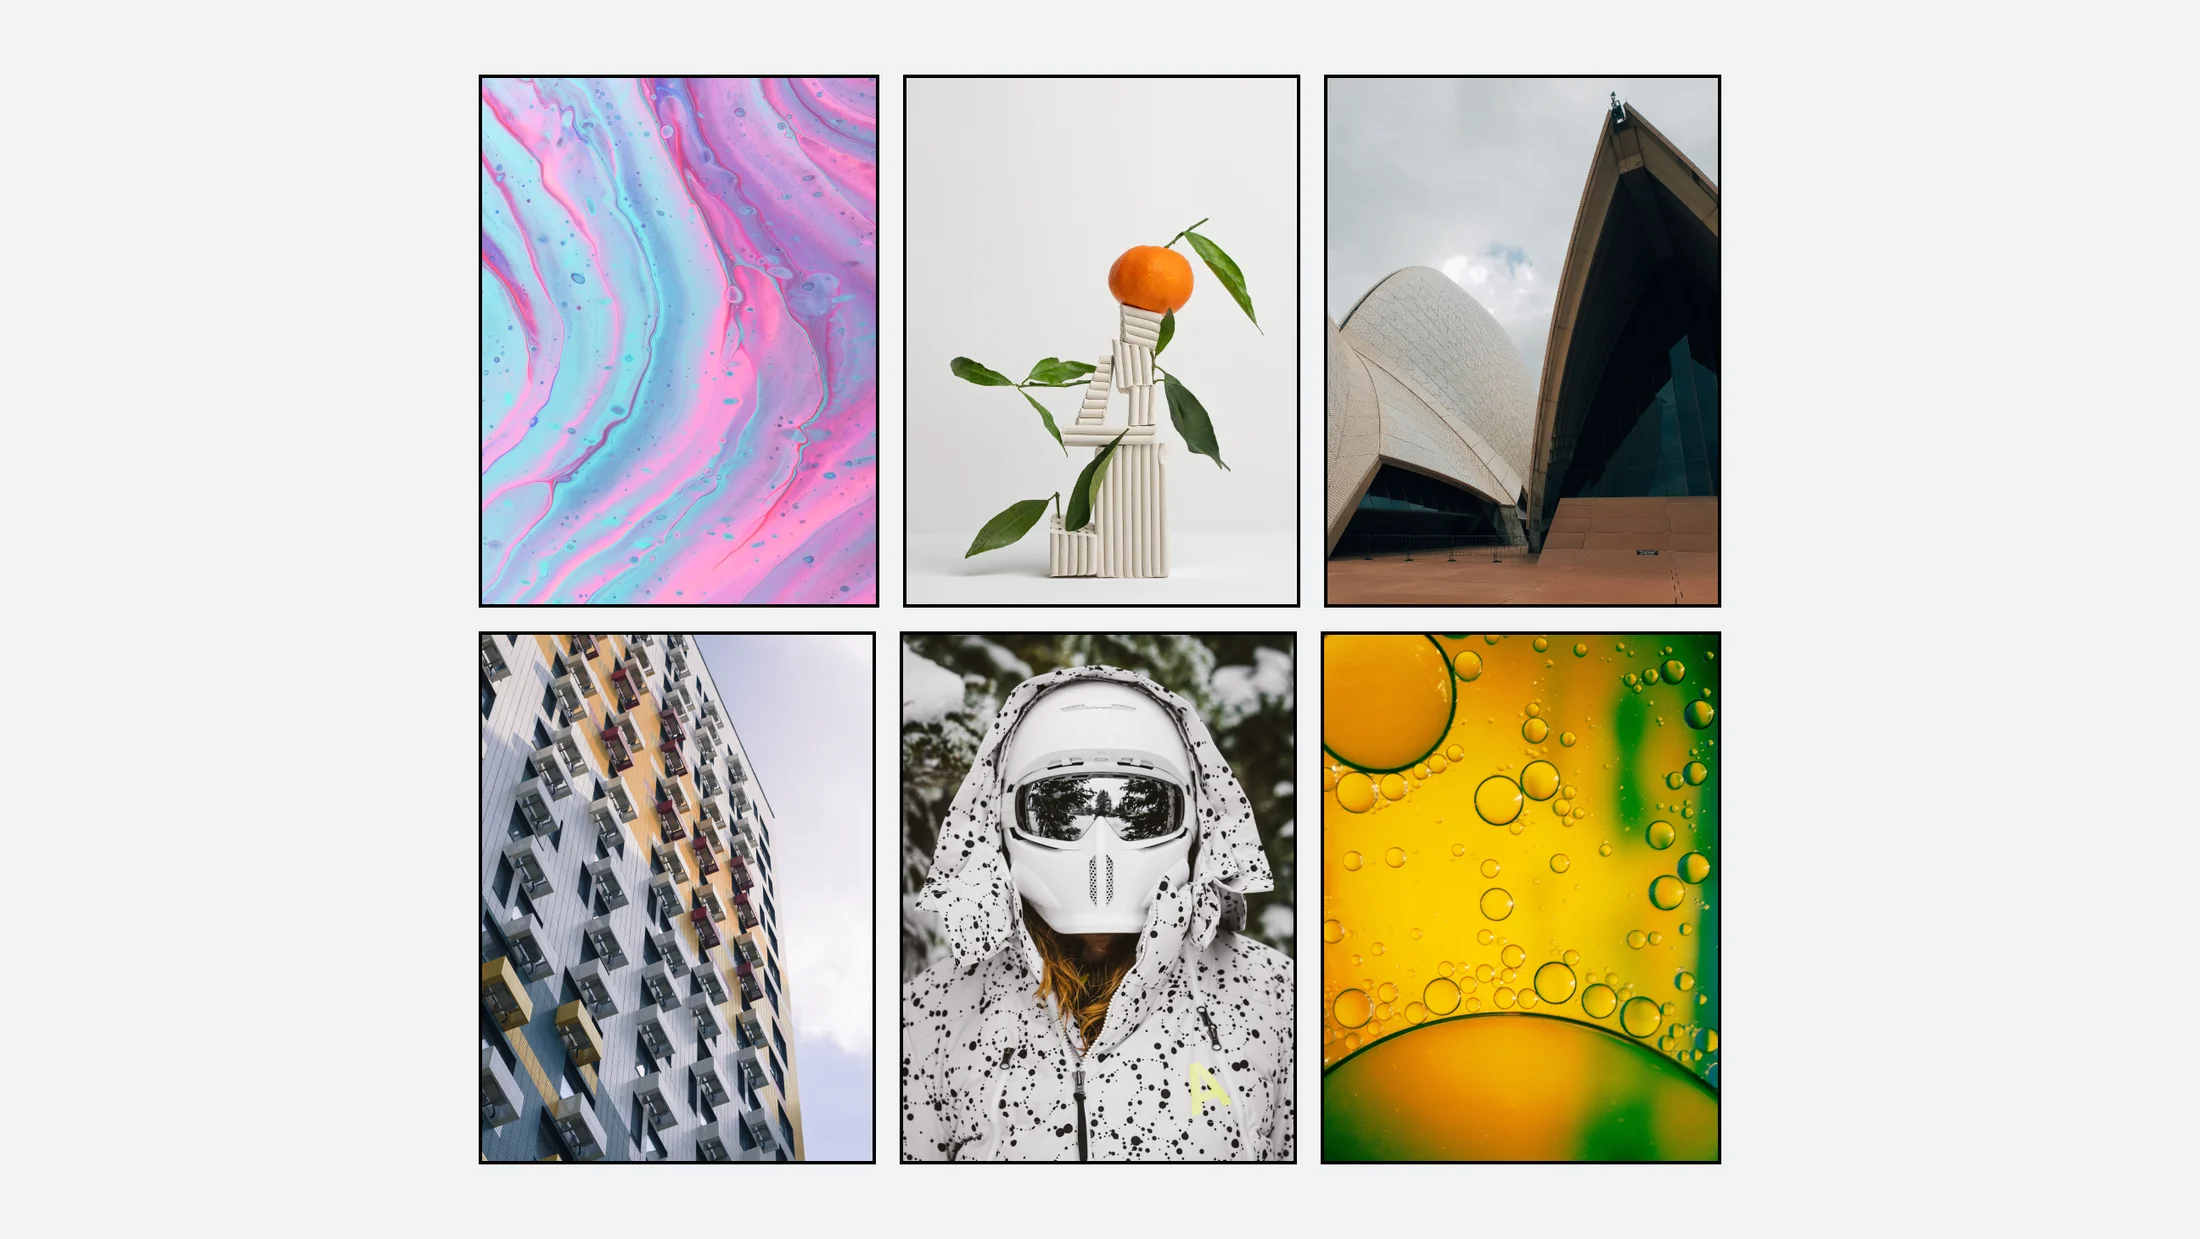
Unsplash bitmap image imported into
Although Figma is a vector-based tool, inserting and managing bitmap-type assets is also quite fast and effective. You can try adding an image file to the Fill and Stroke values, or create a shadow using Effects on the right panel. A variety of expressions are possible by combining several effects.
You can freely export as you wish.
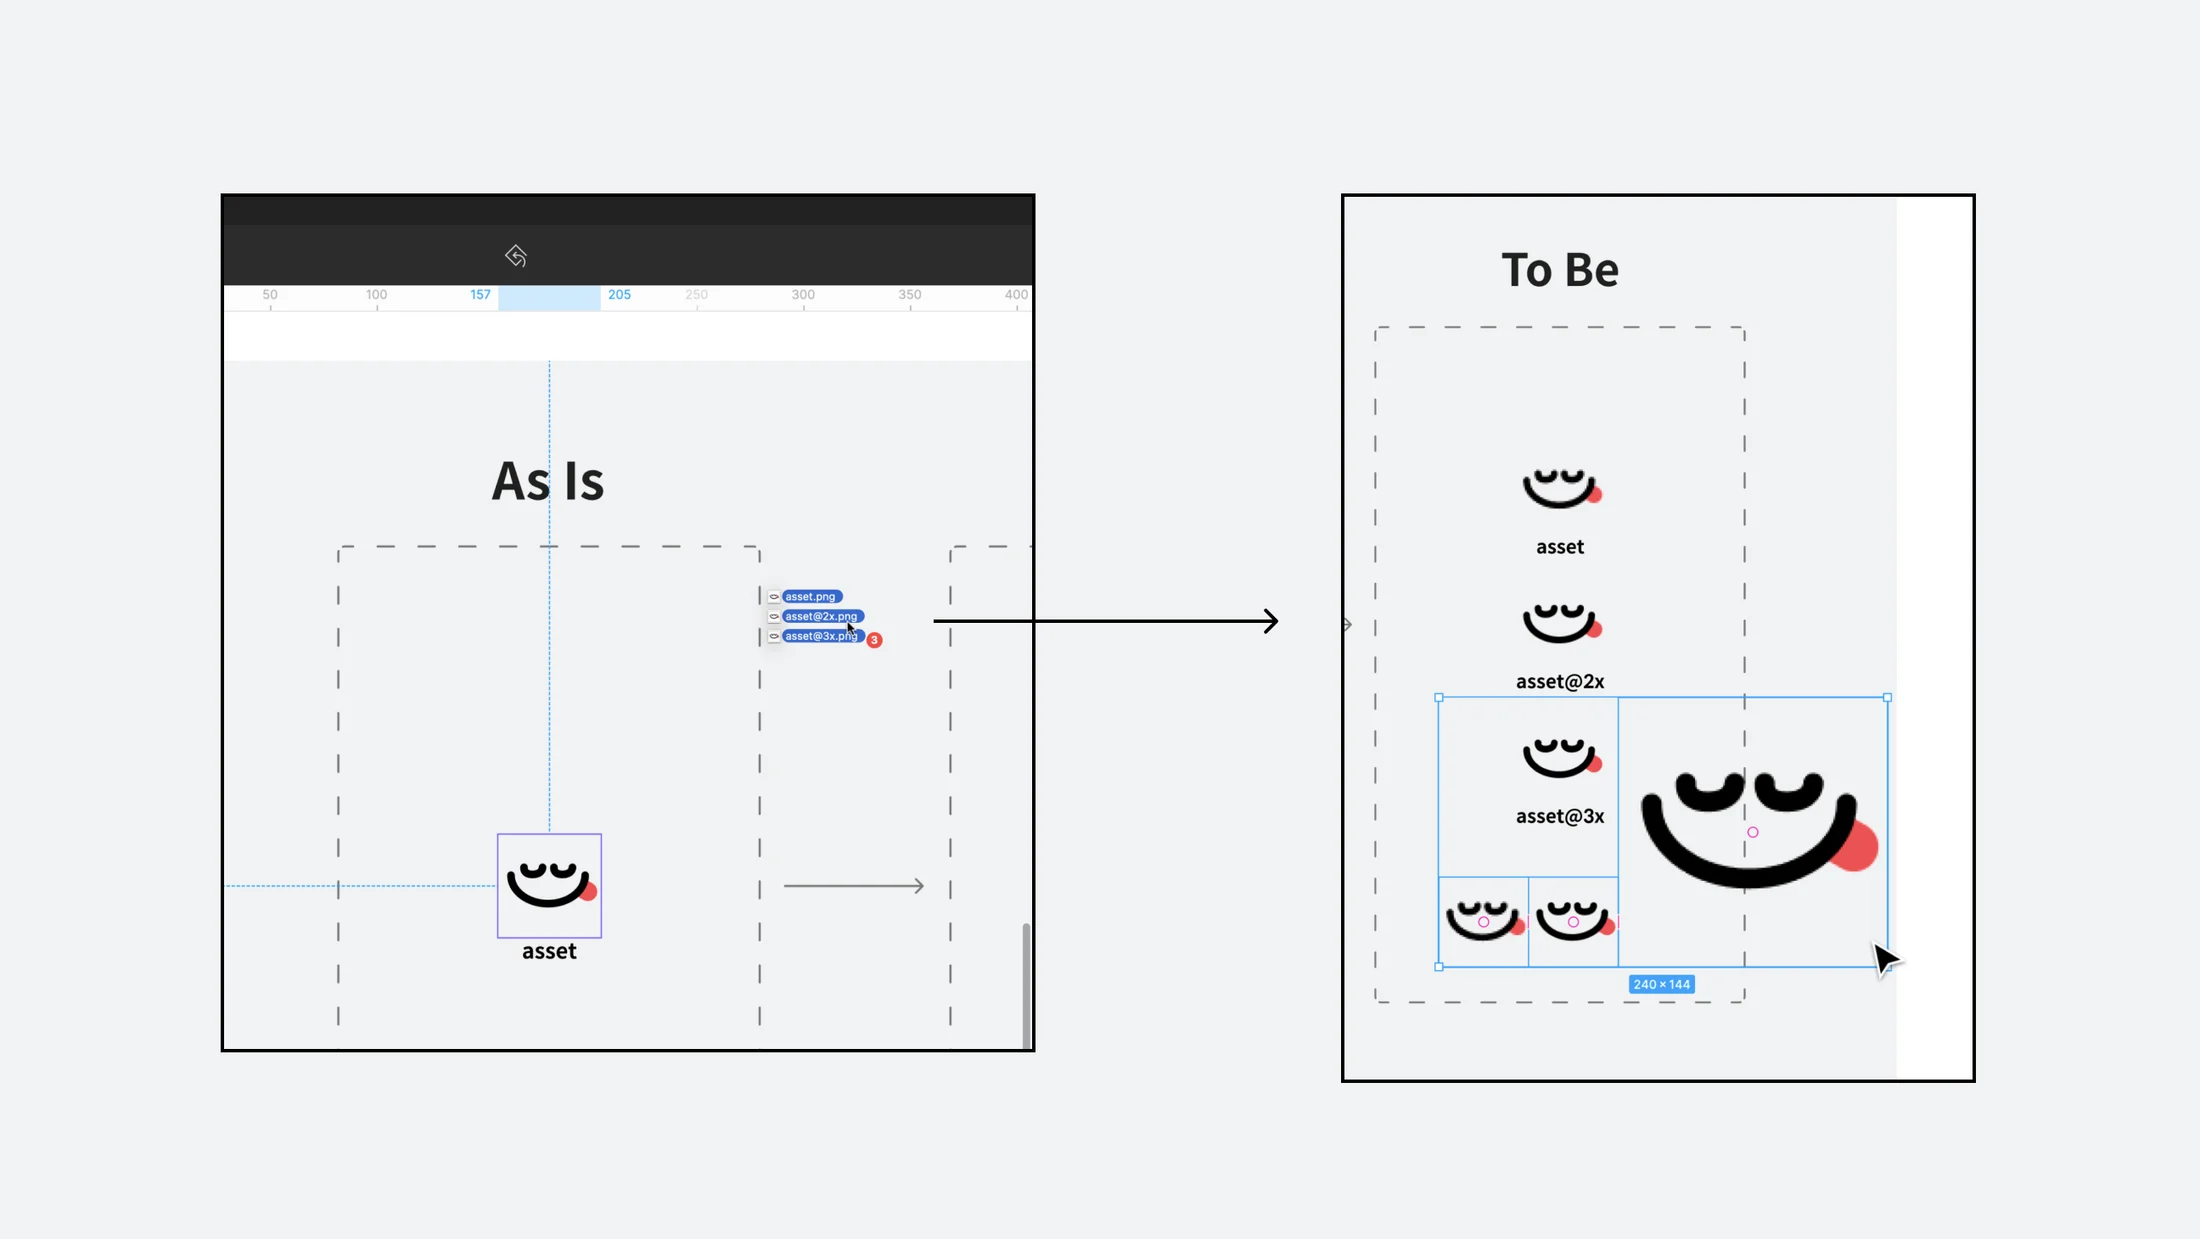
Once design work is complete, you can export assets in a format that suits your situation. Basically, it supports four extensions: SVG, PNG, JPG, and PDF, and it is also possible to select multiple extensions according to the device requirements. If you edit the @3x part in the bottom right panel of the screenshot, the modified text will be reflected at the end of the file name when exporting.
How can I move to the desired screen?
If you hold down the space bar, the Hand Tool that allows you to move the screen will be activated. If you drag the mouse in this state, you can move the screen freely. If you want to enlarge the screen, press [+], and if you want to zoom out, press [-] to easily view the screen in the size you want.
Export and put it back into Figma
I've explained everything about the Export function, but I think there's no better practice than actually using it. Through practice, we will extract figma's assets into the desired form and put the extracted assets back into figma. You will learn what Export folder rules, resolution multipliers, and suffixes mean.
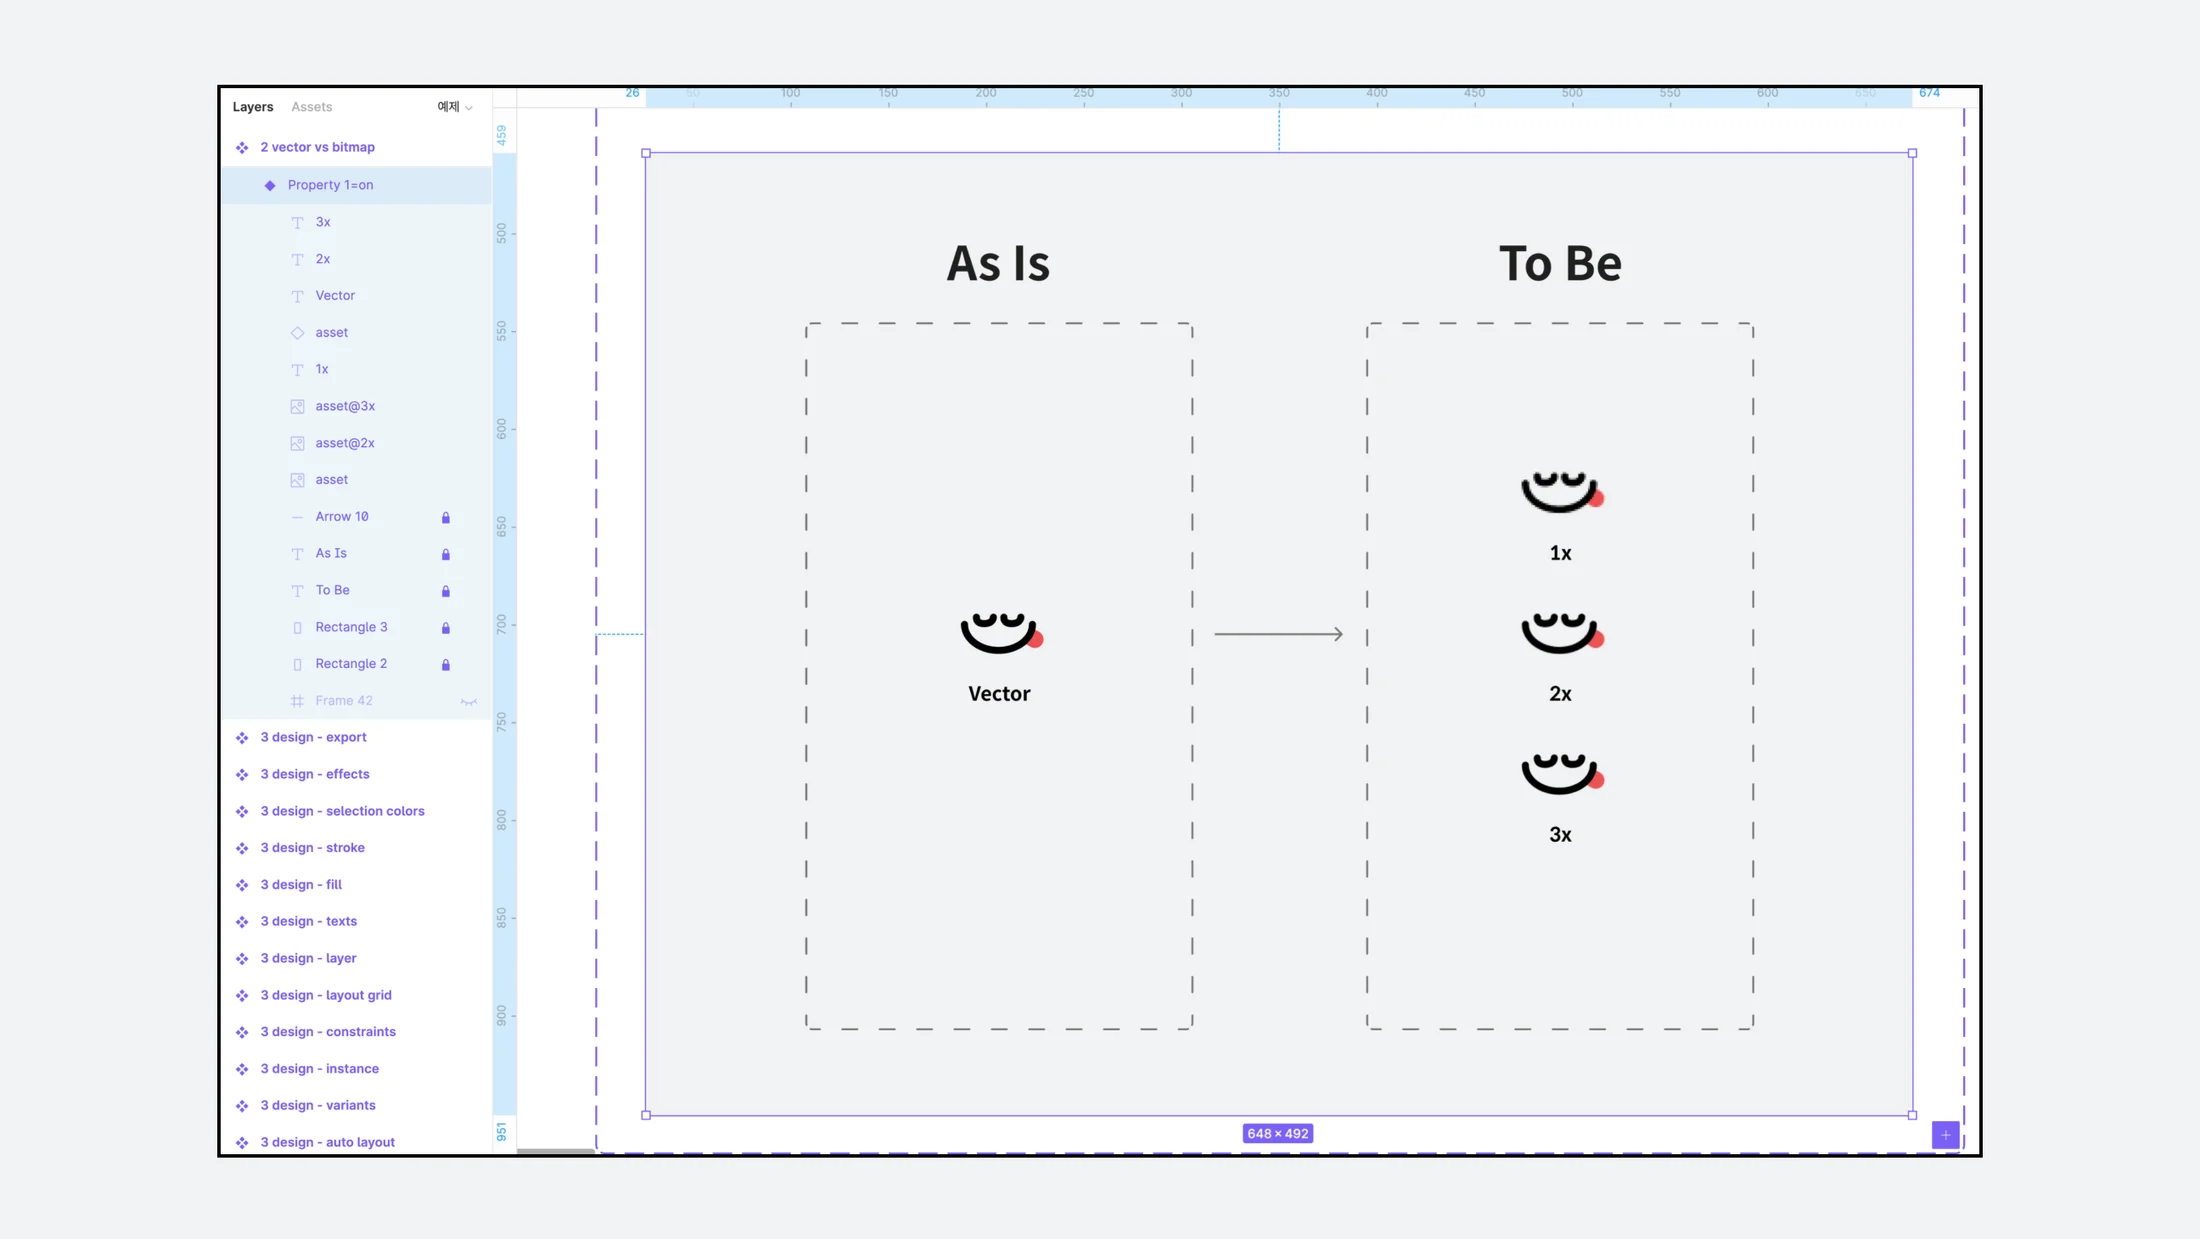
- Let’s click on the prepared example in Figma.
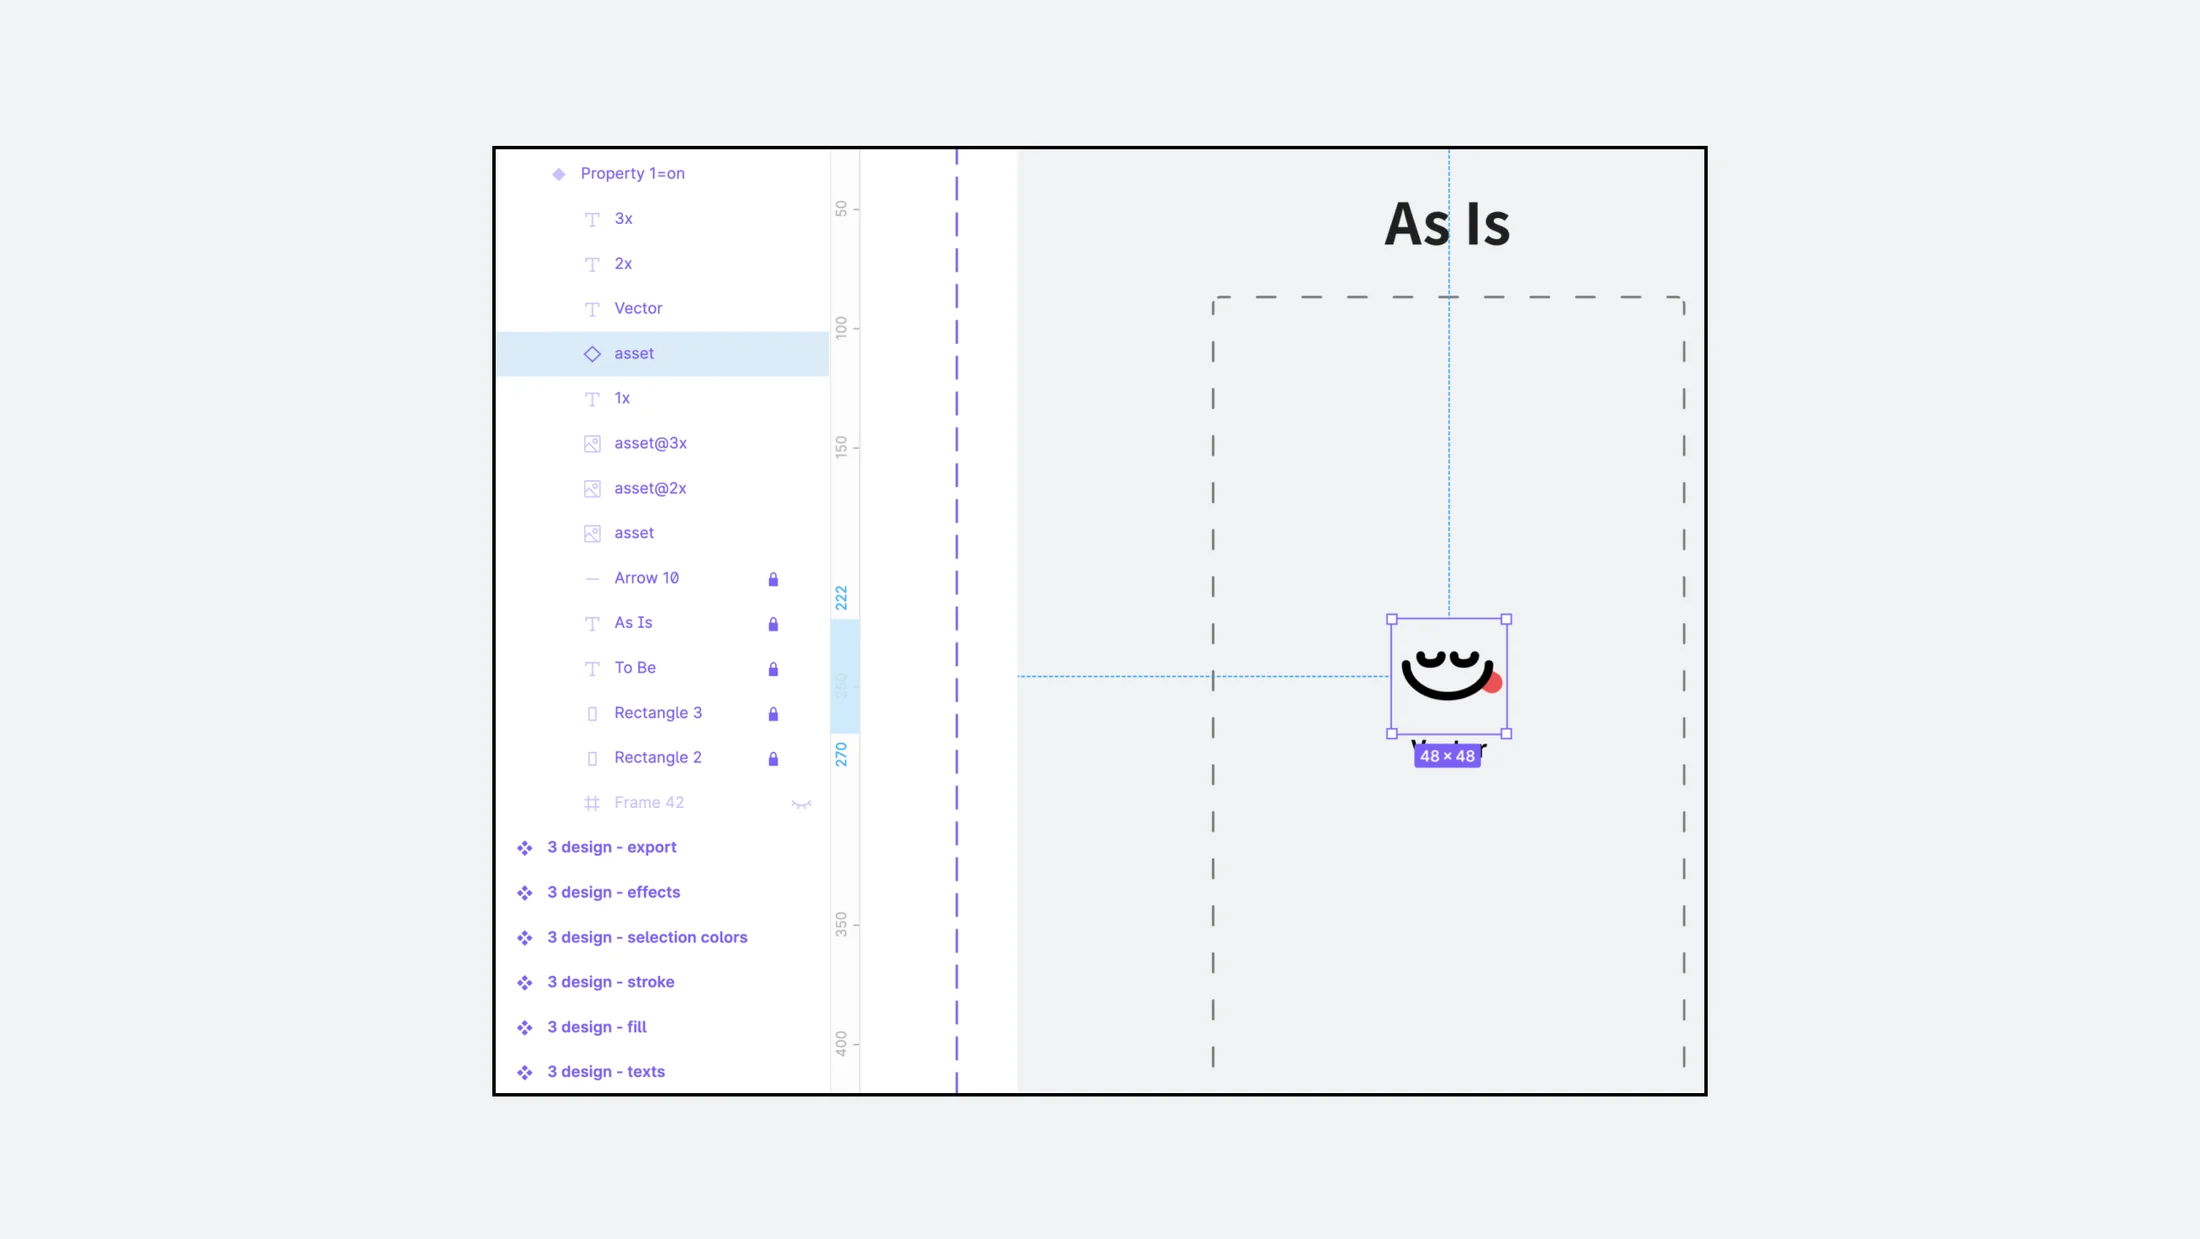
- Double-click to select the asset. You can see that the [asset] area dependent on the main frame is selected.
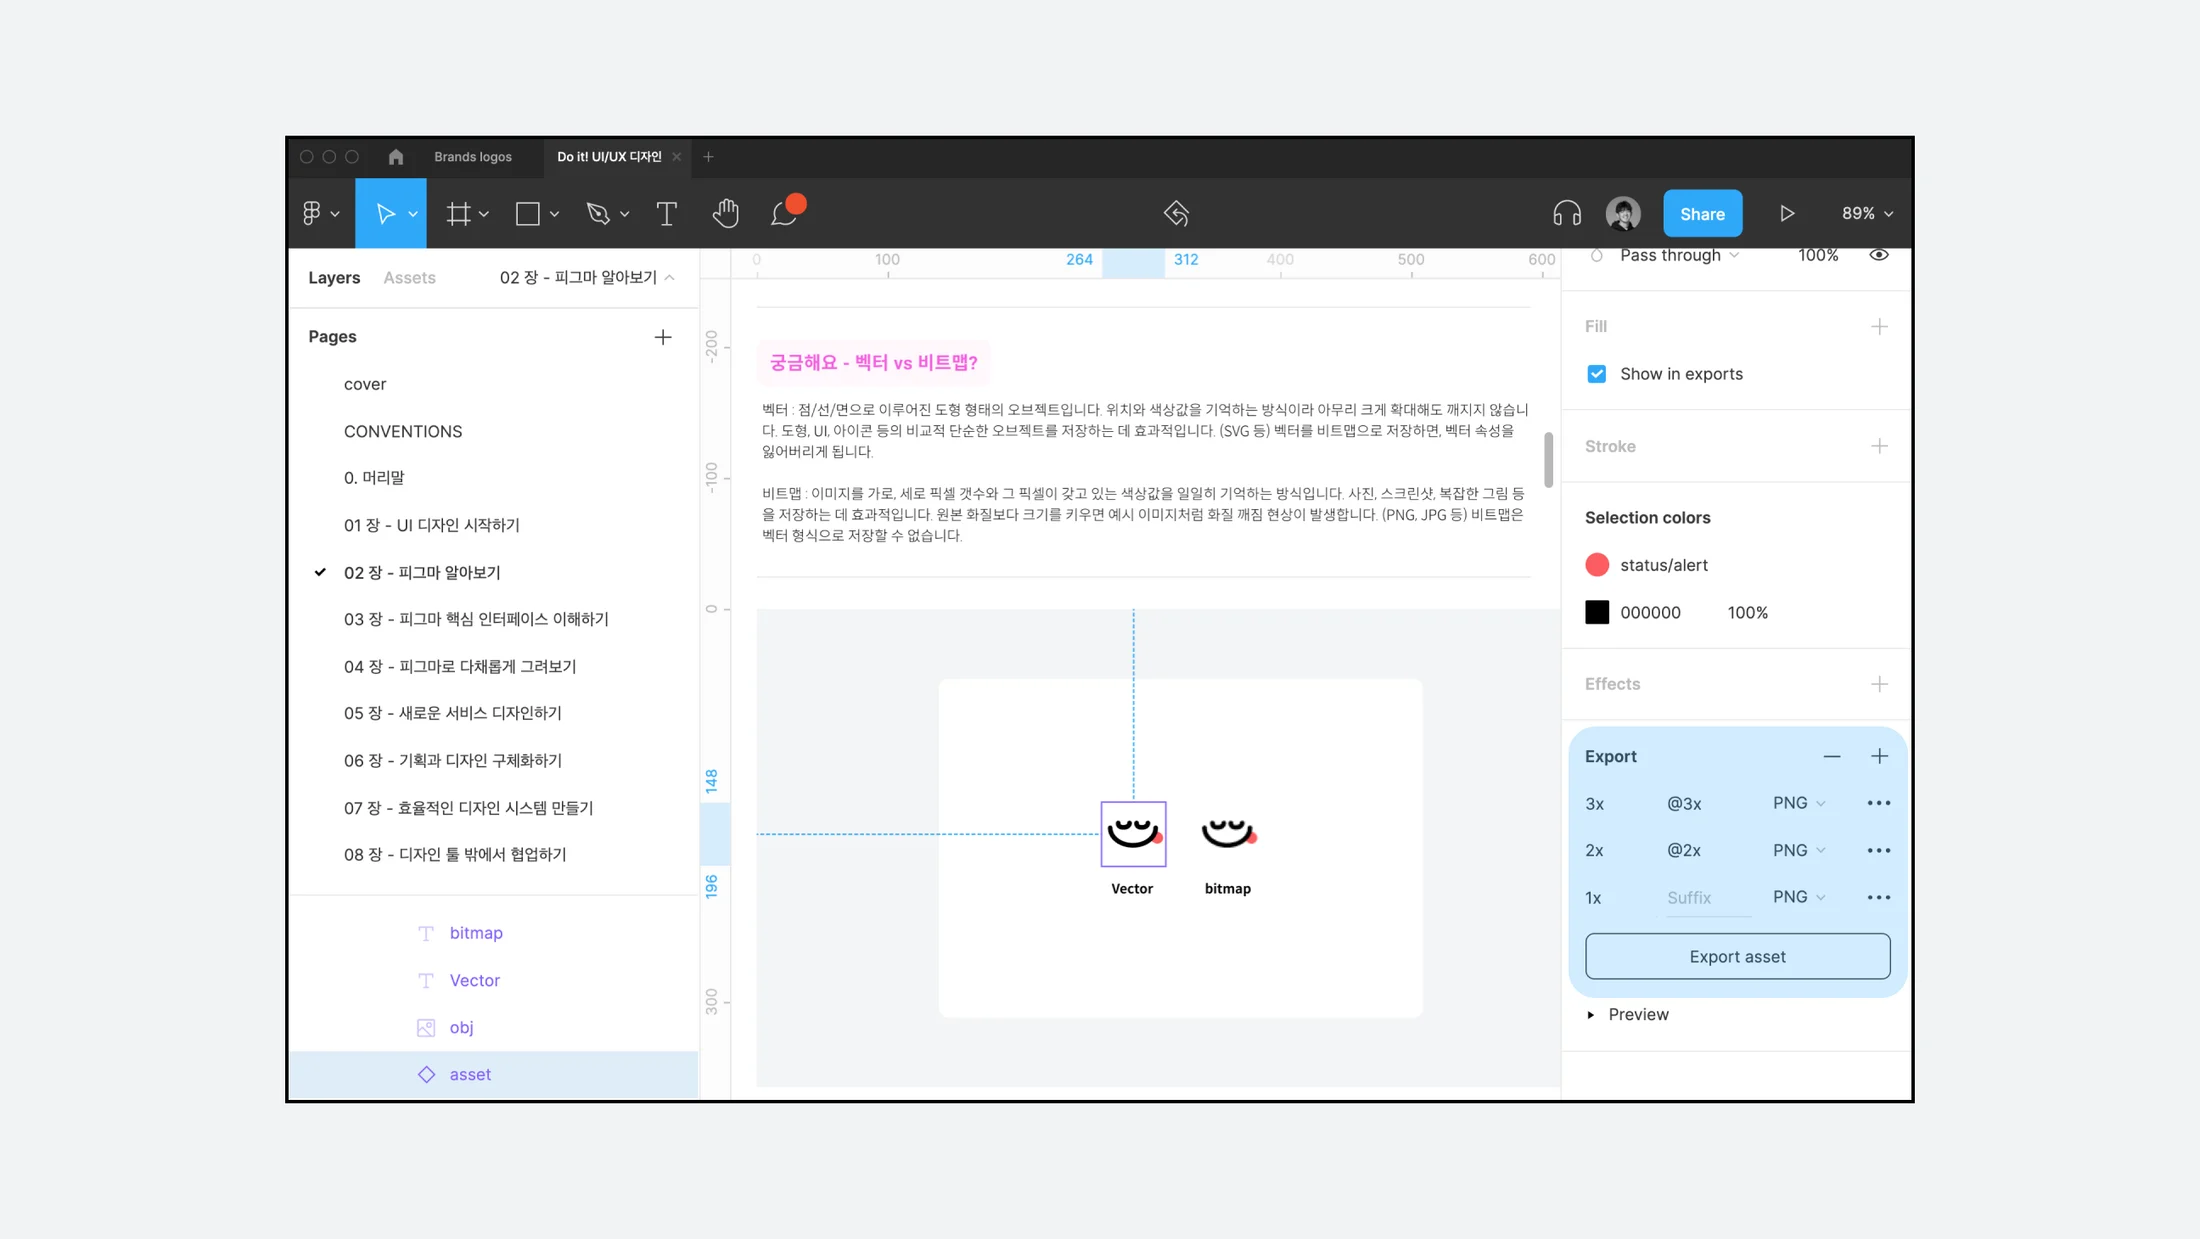
- Check the Export area at the bottom right. You can check the [Export 'asset(layer name)'] button.
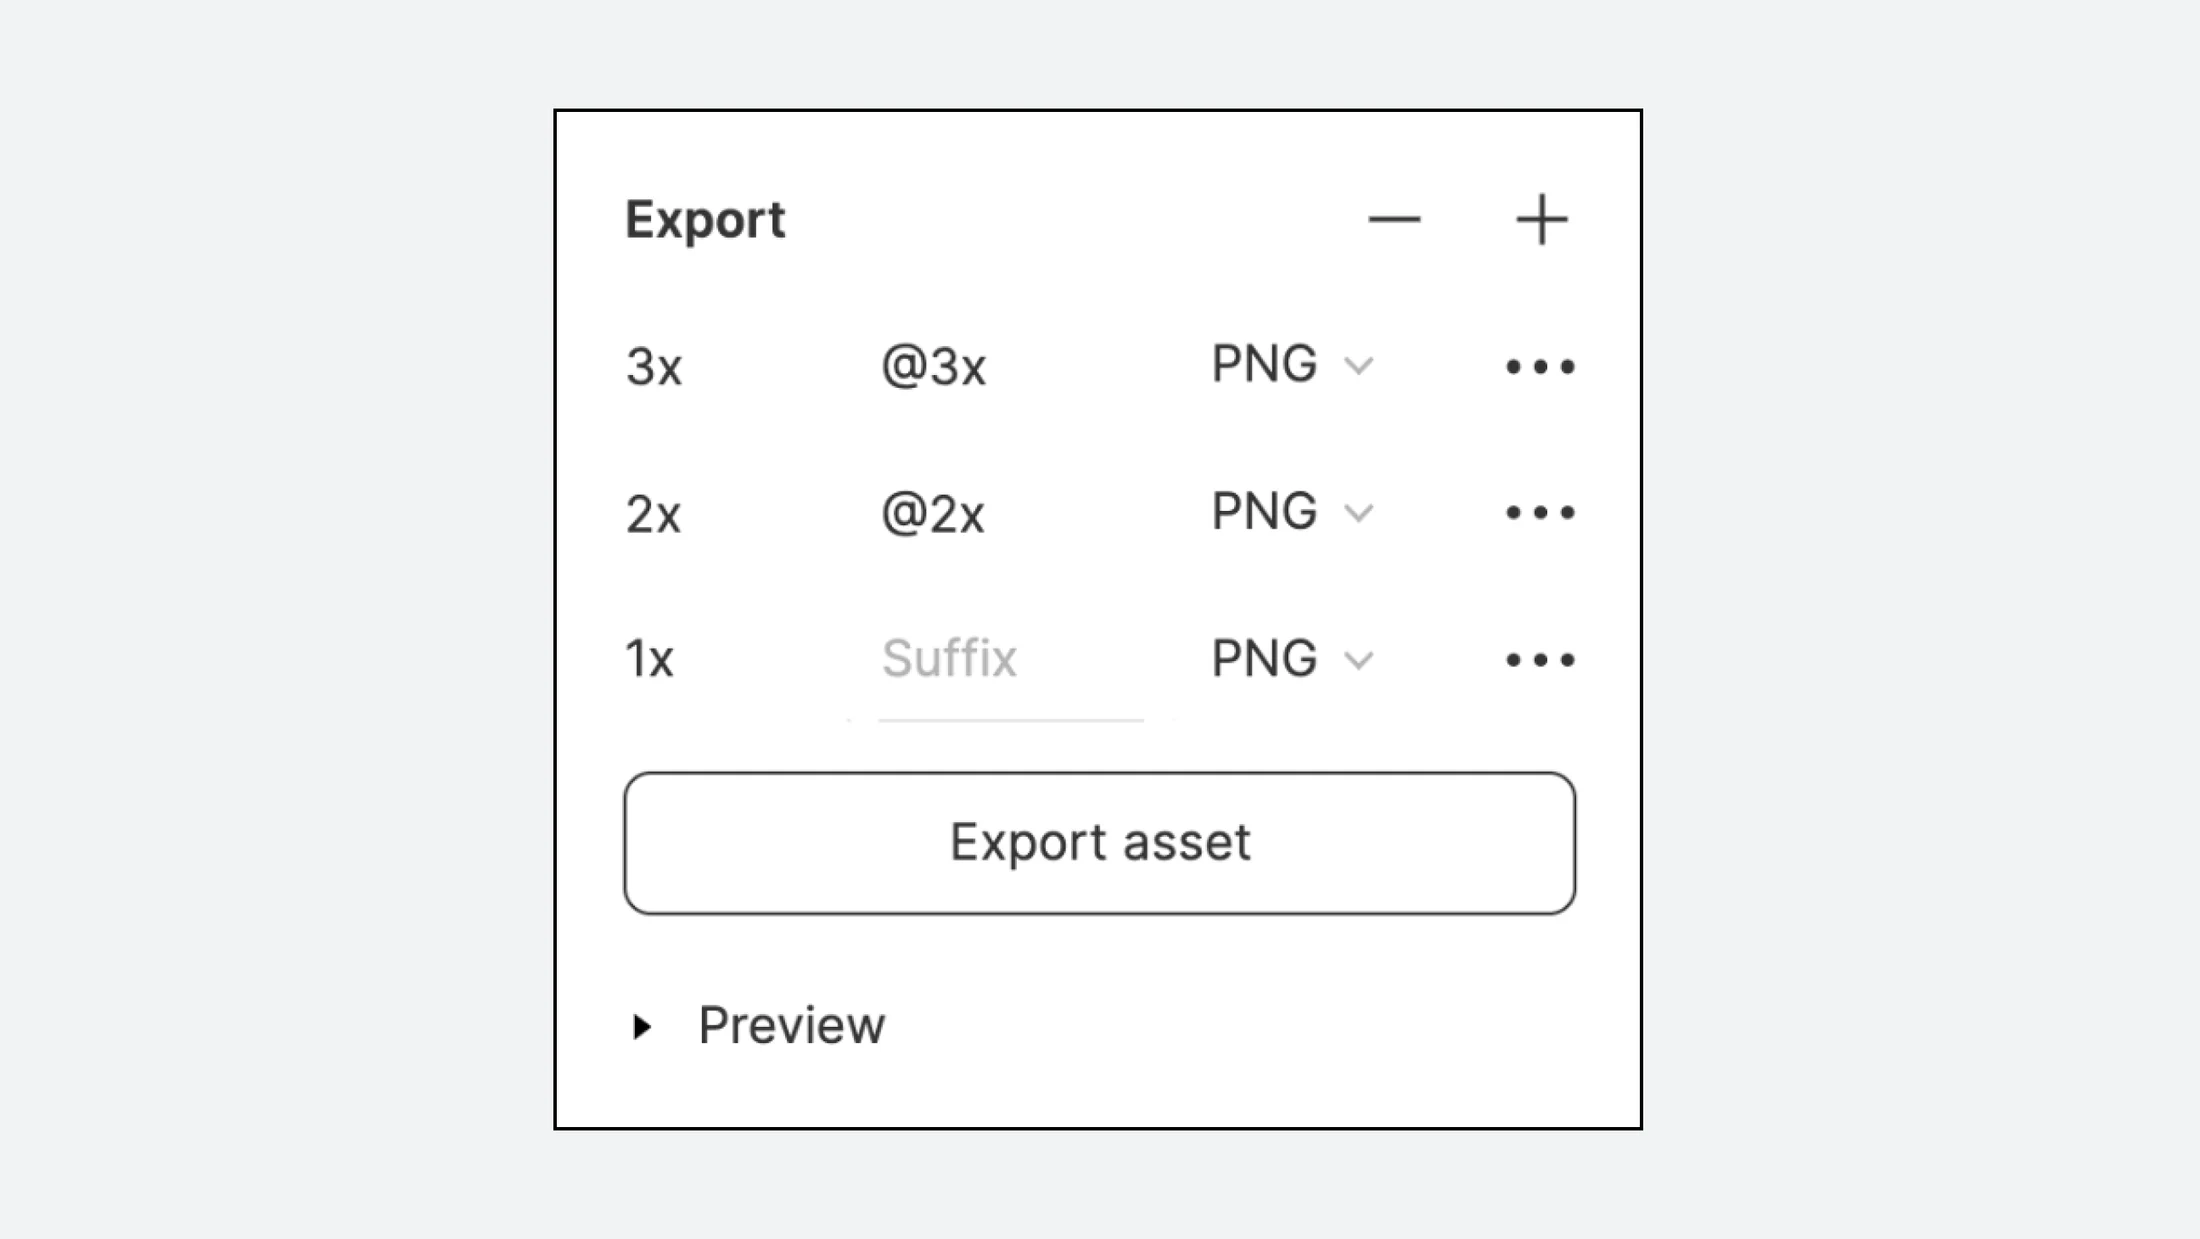
- Click the [Export asset] button. Before pressing the button, remember the @2x and @3x areas. If you don't see the button, press the plus button on the right.
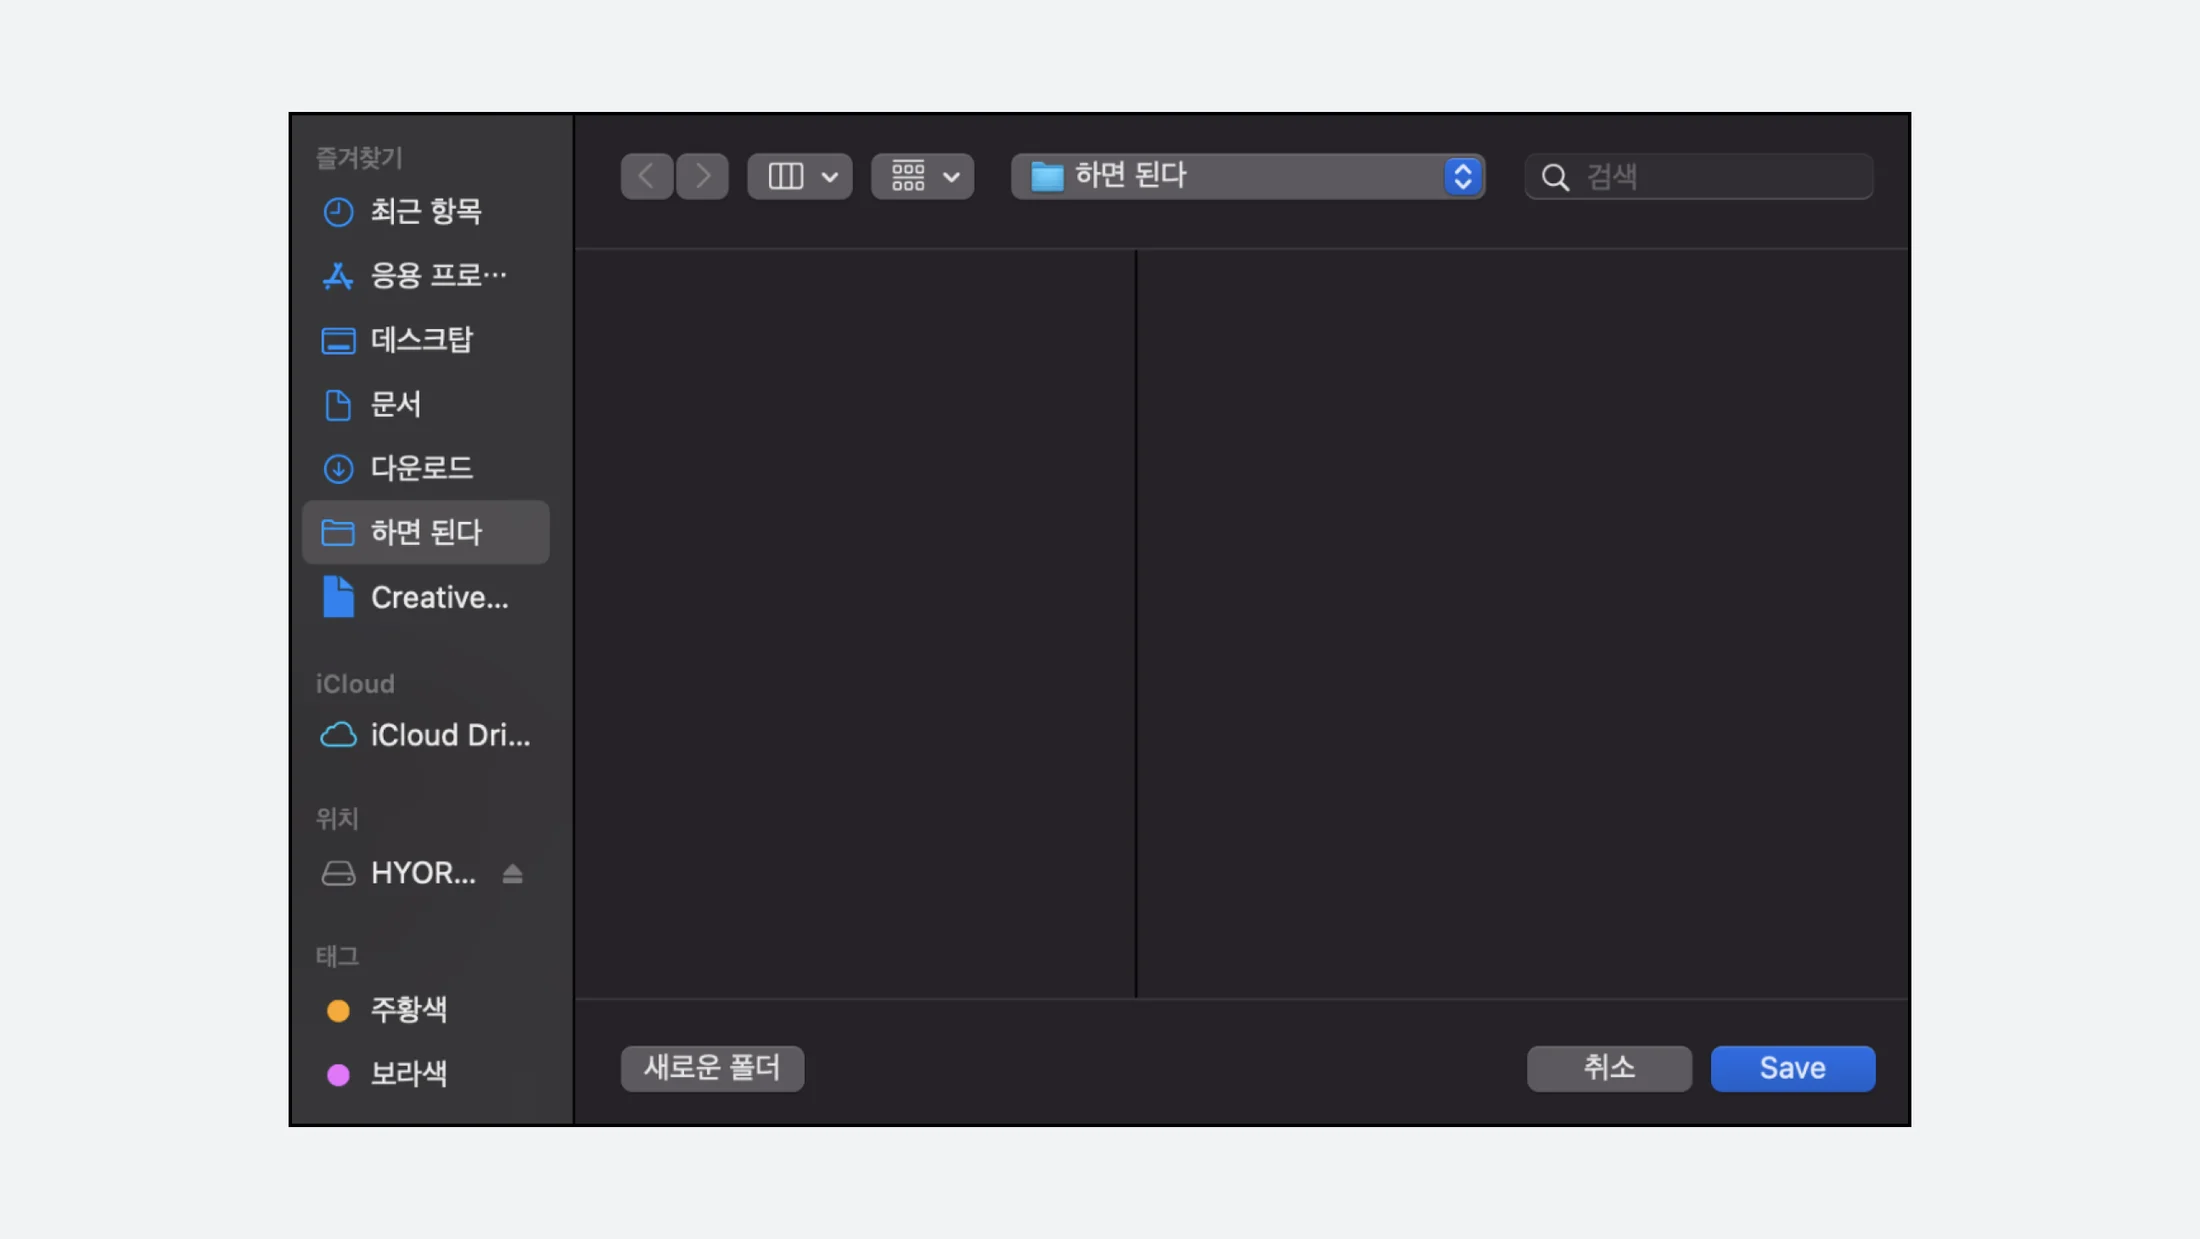
- Select the desired folder and press the [Save] button to complete the export! It is saved as a PNG file in bitmap format.
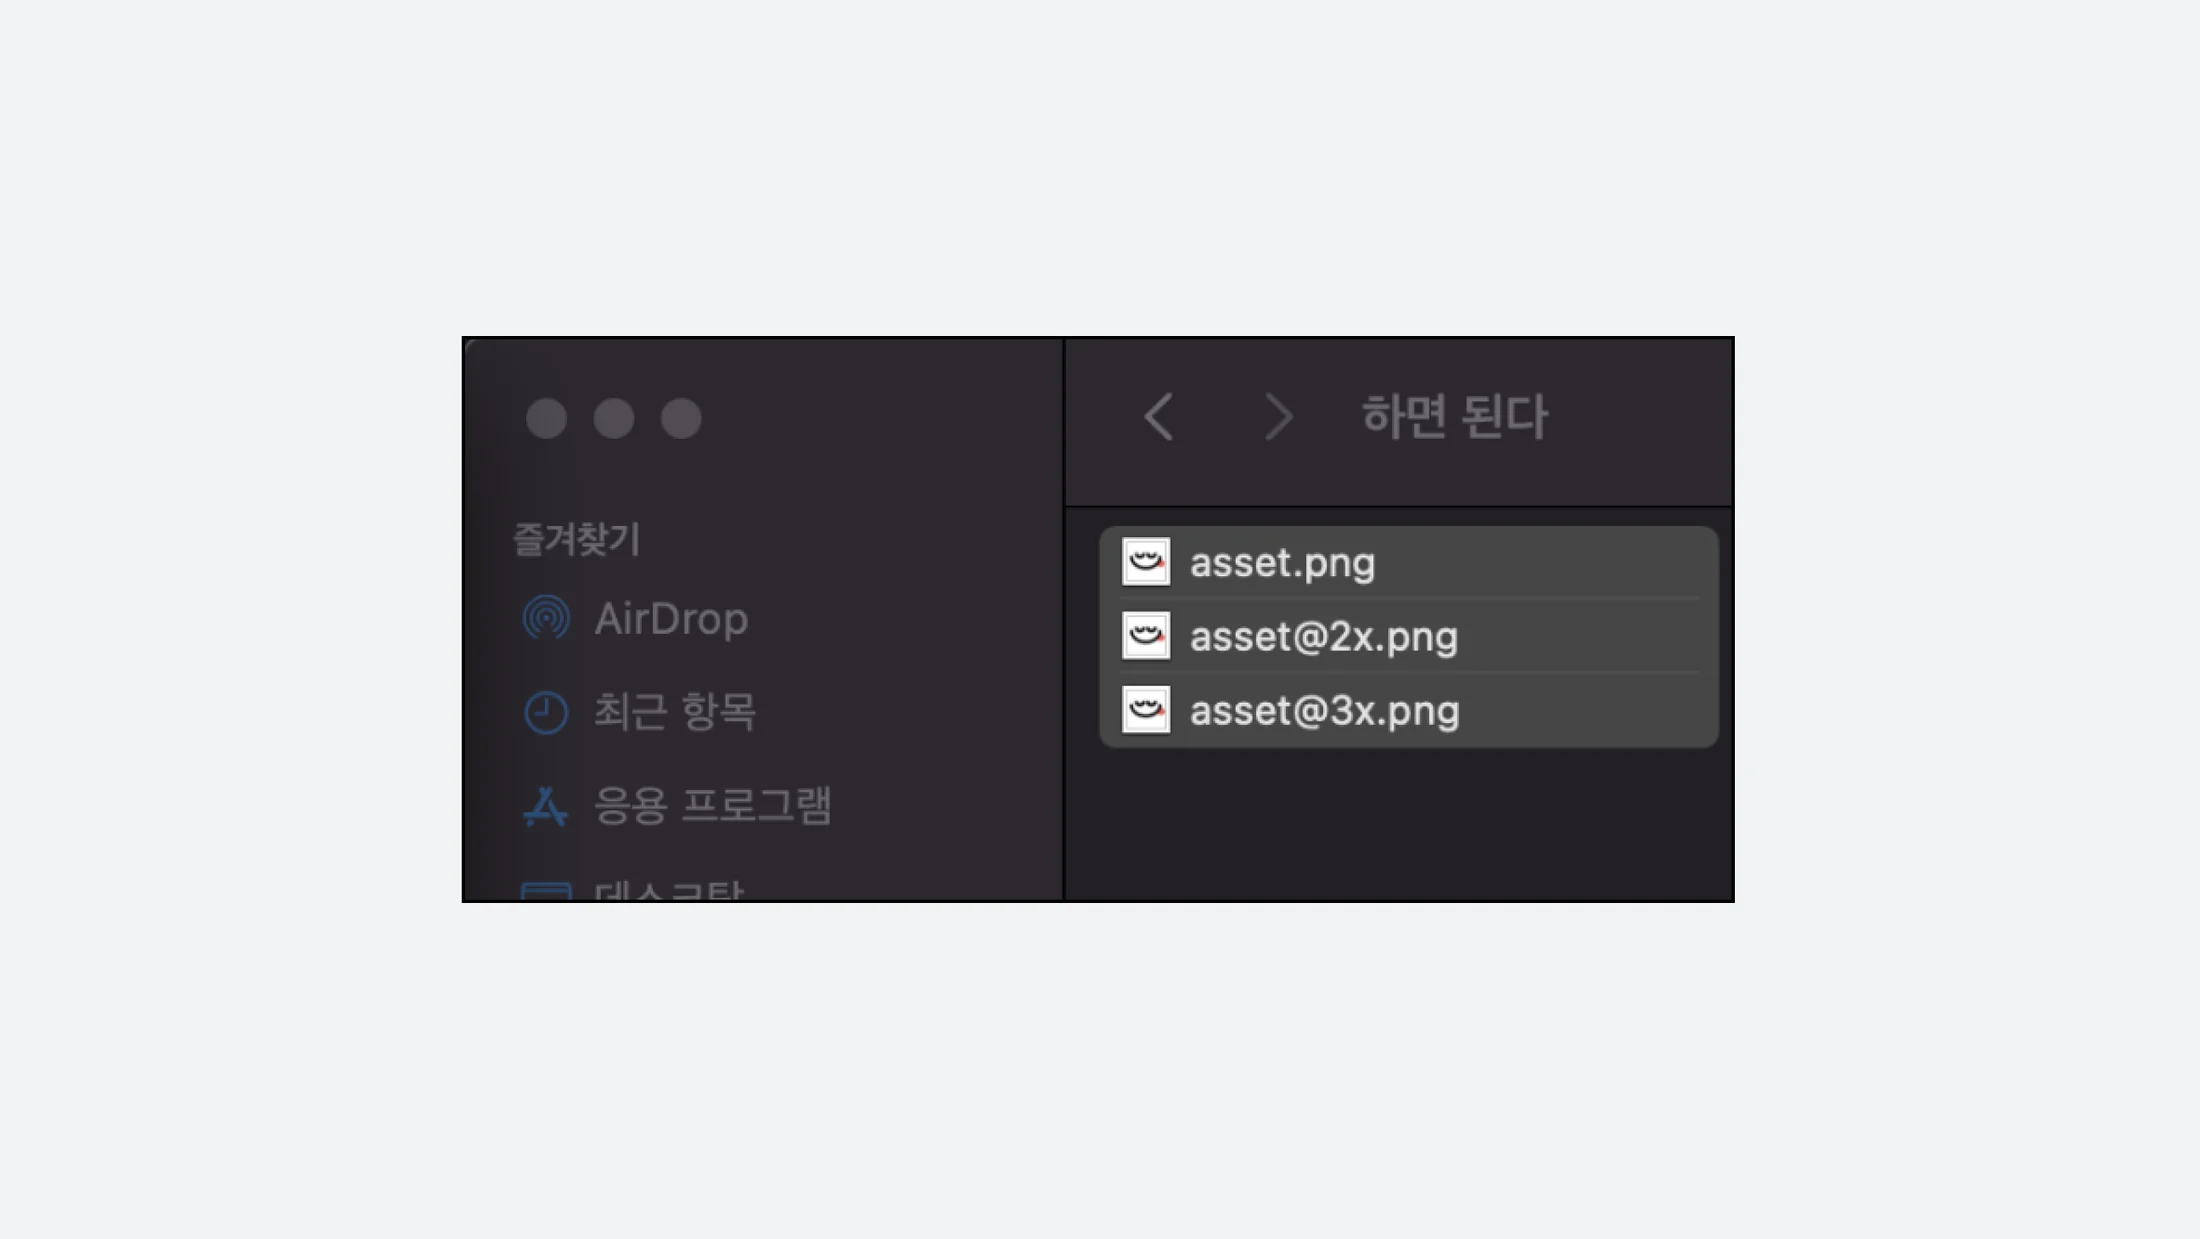
- Open the saved folder and check the extracted assets. asset, asset@2x, asset@3x... In this way, you can see that the names @2x and @3x entered earlier have been extracted with additions. Let's select all three assets extracted to the folder.