Introduction
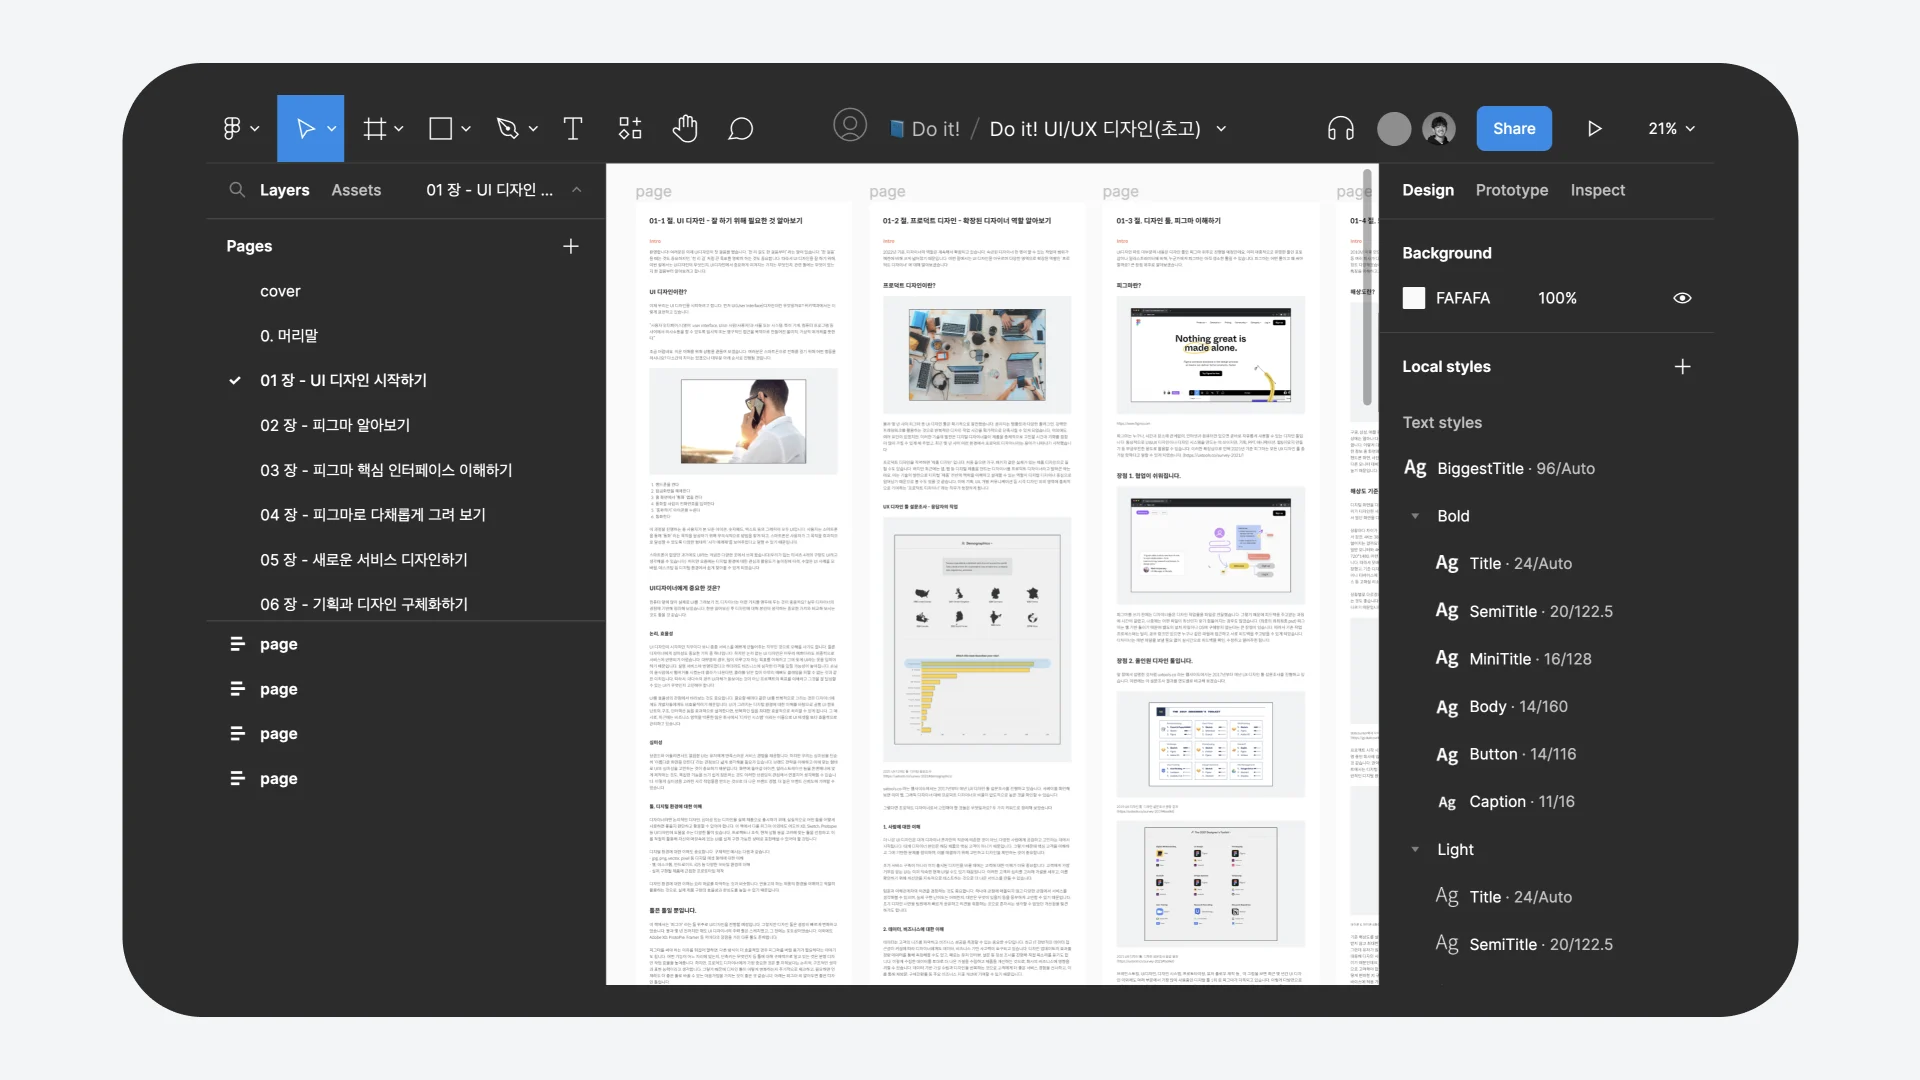
Microsoft Word is often the first tool that comes to mind when working on a book or document. But does every book have to be written in Word? I do not think so. Drawing on my recent professional experience, I published Do it! Introduction to Product Design with Figma in January 2023. This article shares, in four steps, how I created the entire first draft in Figma.
Step 1 - Finding the Problem
While working as a product and platform designer at a tech company, I also taught design classes outside work whenever a good opportunity came along. Then a publisher invited me to write an introductory design book based on that experience.
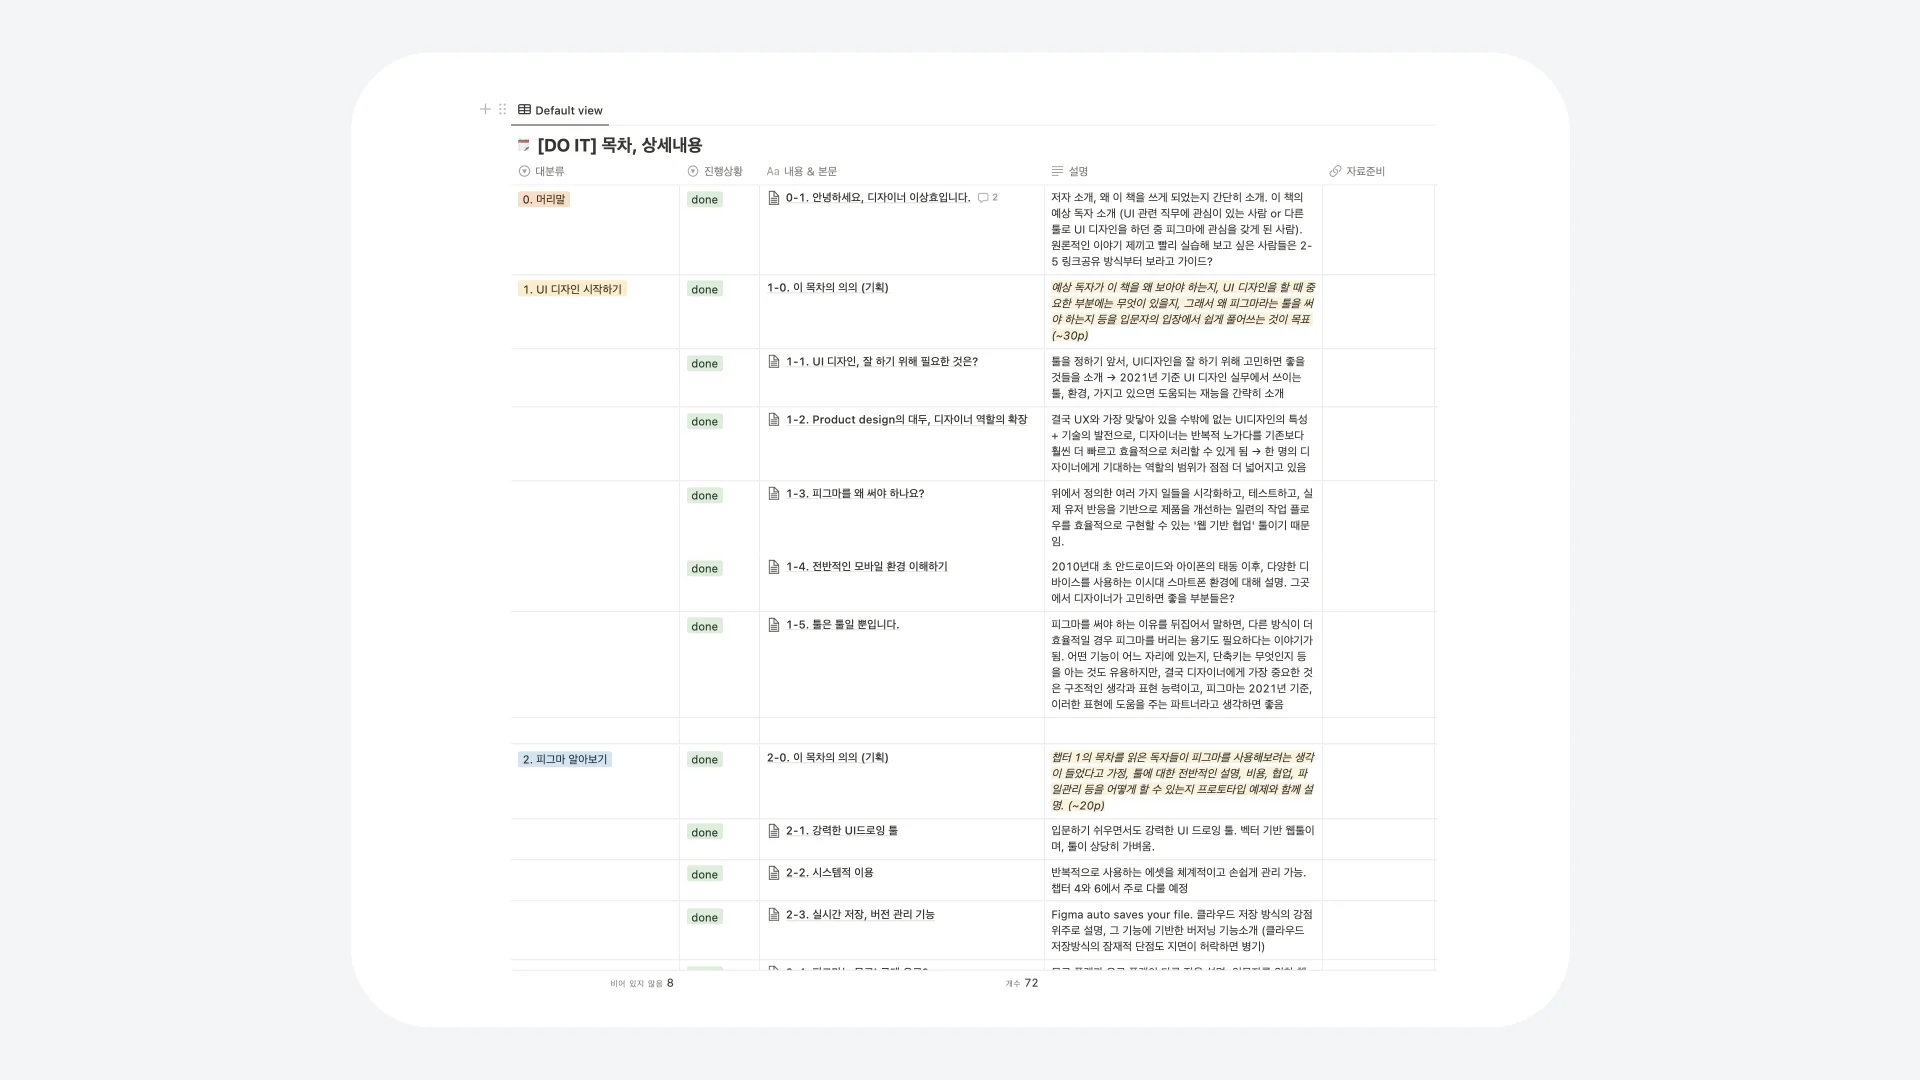
After deciding to write the book, I worked through the details with the publisher and used Notion to manage the overall plan. Notion is a cloud-based writing tool similar to Google Docs. As long as I had an internet connection, I could organize the project and its detailed plan from anywhere, which made planning the book very convenient.
But Notion alone was not enough to complete the manuscript. This was a practical design book, so it needed hands-on exercises throughout, along with many screenshots and example images to aid understanding. That made a text-centered tool like Notion difficult to use on its own.
I also had to use another tool, Microsoft Word, to deliver the final manuscript. The publisher's workflow expected a Word file so its team could review, edit, proofread, and design the manuscript for publication. Authors did not simply write freely in Word: the publisher provided styles and guidelines for each level and context, including titles, body copy, and captions.
Given those constraints, I wanted to create and deliver a large volume of writing and images efficiently while still following the publisher's styles and guidelines.
Step 2 - Exploring Solutions
Publishing felt like an enormous project, difficult to estimate even if I used as much of my spare time as possible while working full-time. As with any professional design project, I believed that defining the workflow well at the beginning would save a great deal of time later.
At that time, I had two options in mind.
- Learn the publisher's style guide, write directly in Word, and create the necessary images separately.
- Create the images and write the manuscript together in Figma, while understanding and following the Word style guide.
I first opened the Word style guide and tried option 1. After half a day, however, I could already tell it would be inefficient. I had to learn the publisher's Word styles, I was not comfortable working in Word, and I was unlikely to use it again once the book was finished.
More importantly, I needed to imagine and quickly create example images that connected closely with the words I was writing. Constantly switching between two tools made that process inefficient. Option 1 seemed likely to consume a great deal of unnecessary time.
So I considered option 2. Figma is primarily a UI design tool, but its flexibility makes it useful in many other fields as well (Link). It is cloud-based, so I could work in different environments wherever I had an internet connection. As a design tool, it also let me create the book's images quickly and freely. Auto Layout made it convenient to work on text and images together. And because I already used Figma every day as a working designer, there was no new tool to learn. Option 2 looked more efficient, and because the book itself introduced Figma, it offered several advantages over option 1.
Before committing to option 2, however, I wanted to verify that it would truly be more efficient. Whatever tool I used to write, the publisher still required the final manuscript in Word. Migration was therefore unavoidable, and if moving the manuscript from Figma to Word took too long, option 1 might still be better.
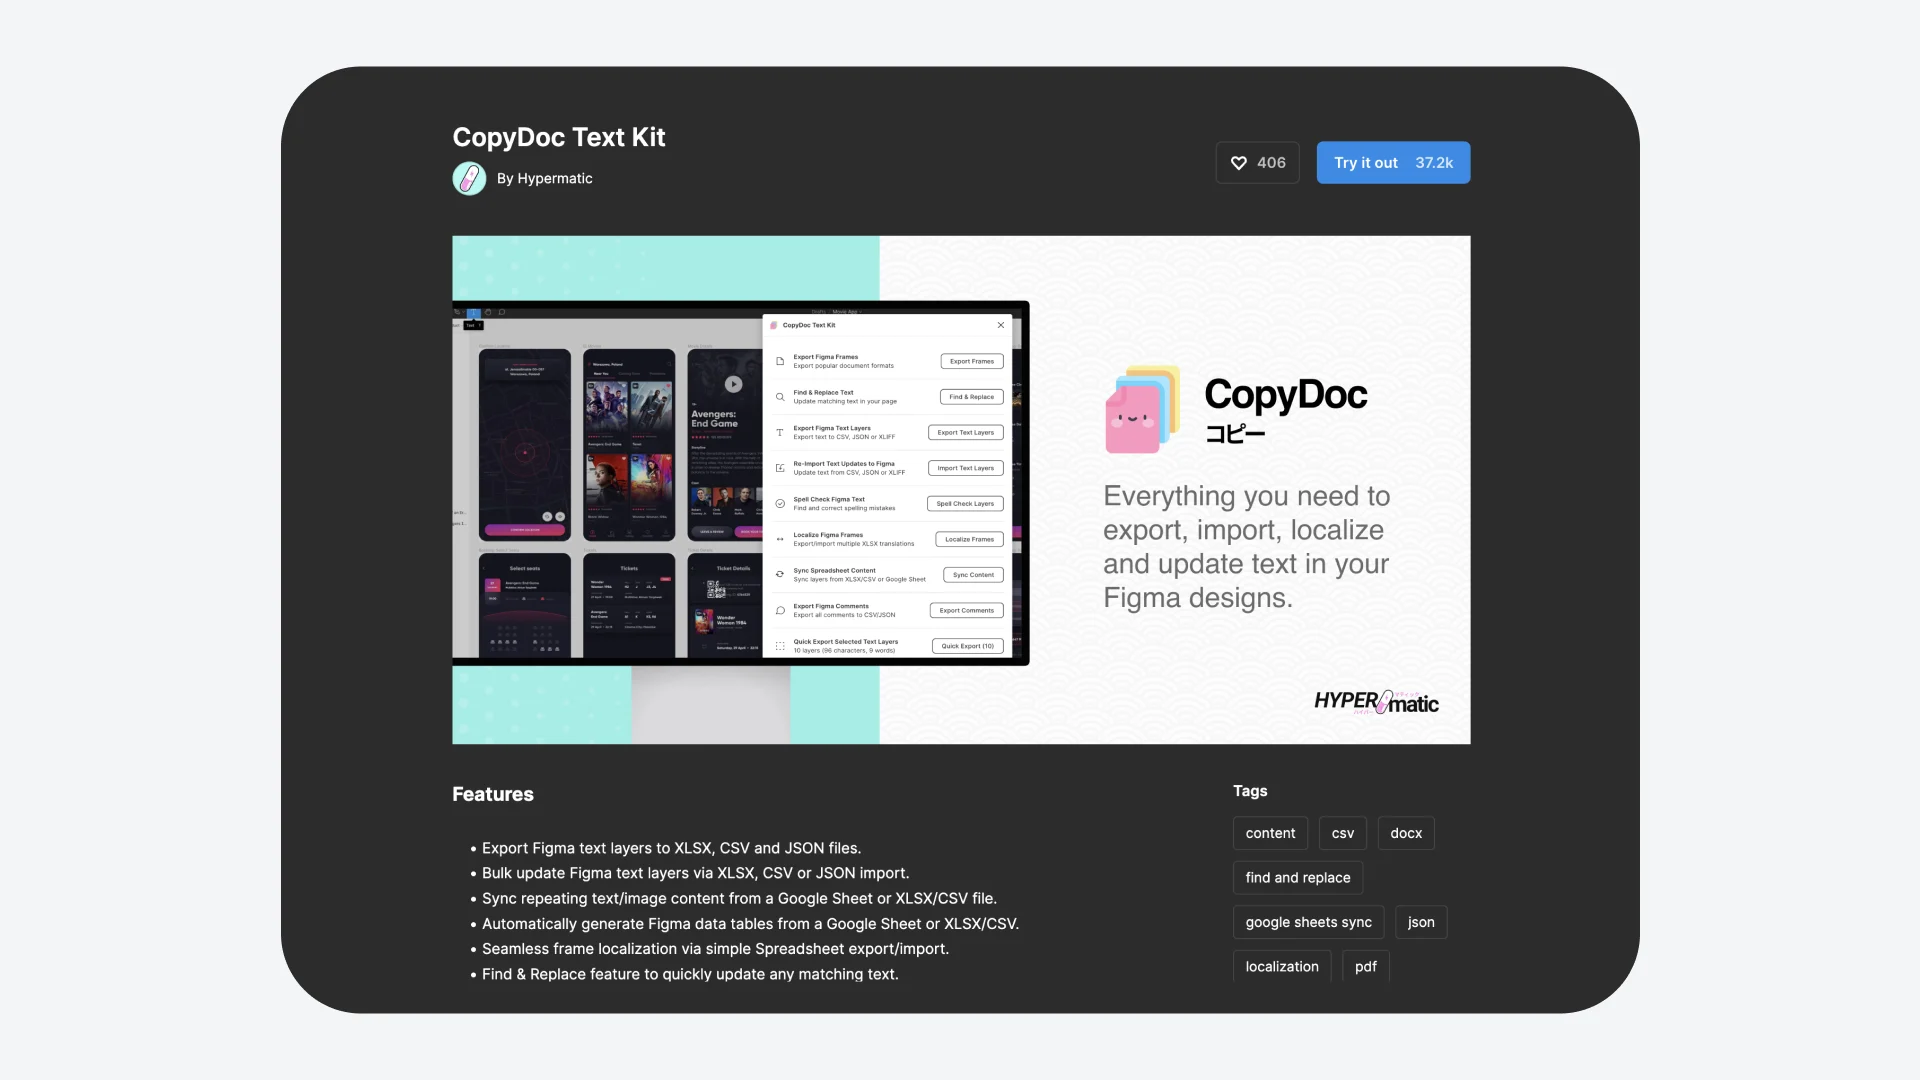
As part of that review, I looked for an effective way to migrate from Figma to Word. I found a plugin that converted Figma work into Word format (Link). A quick test seemed to work well, so I made the final decision to create everything in Figma and migrate it afterward.
What is migration? It means moving work from one project tool to another. For example, transferring a PowerPoint presentation into Photoshop while preserving its layers, or moving a book manuscript from Figma to Word for delivery, can both be called migration. Teams often migrate work to run a project more efficiently or adopt new technology. The term is especially familiar to developers who work across different languages and environments.
Step 3 - Overcoming Hurdles and the Benefits of Writing a Manuscript in Figma
As I worked on the manuscript, I encountered several hurdles and discovered several advantages. I would summarize them as follows.
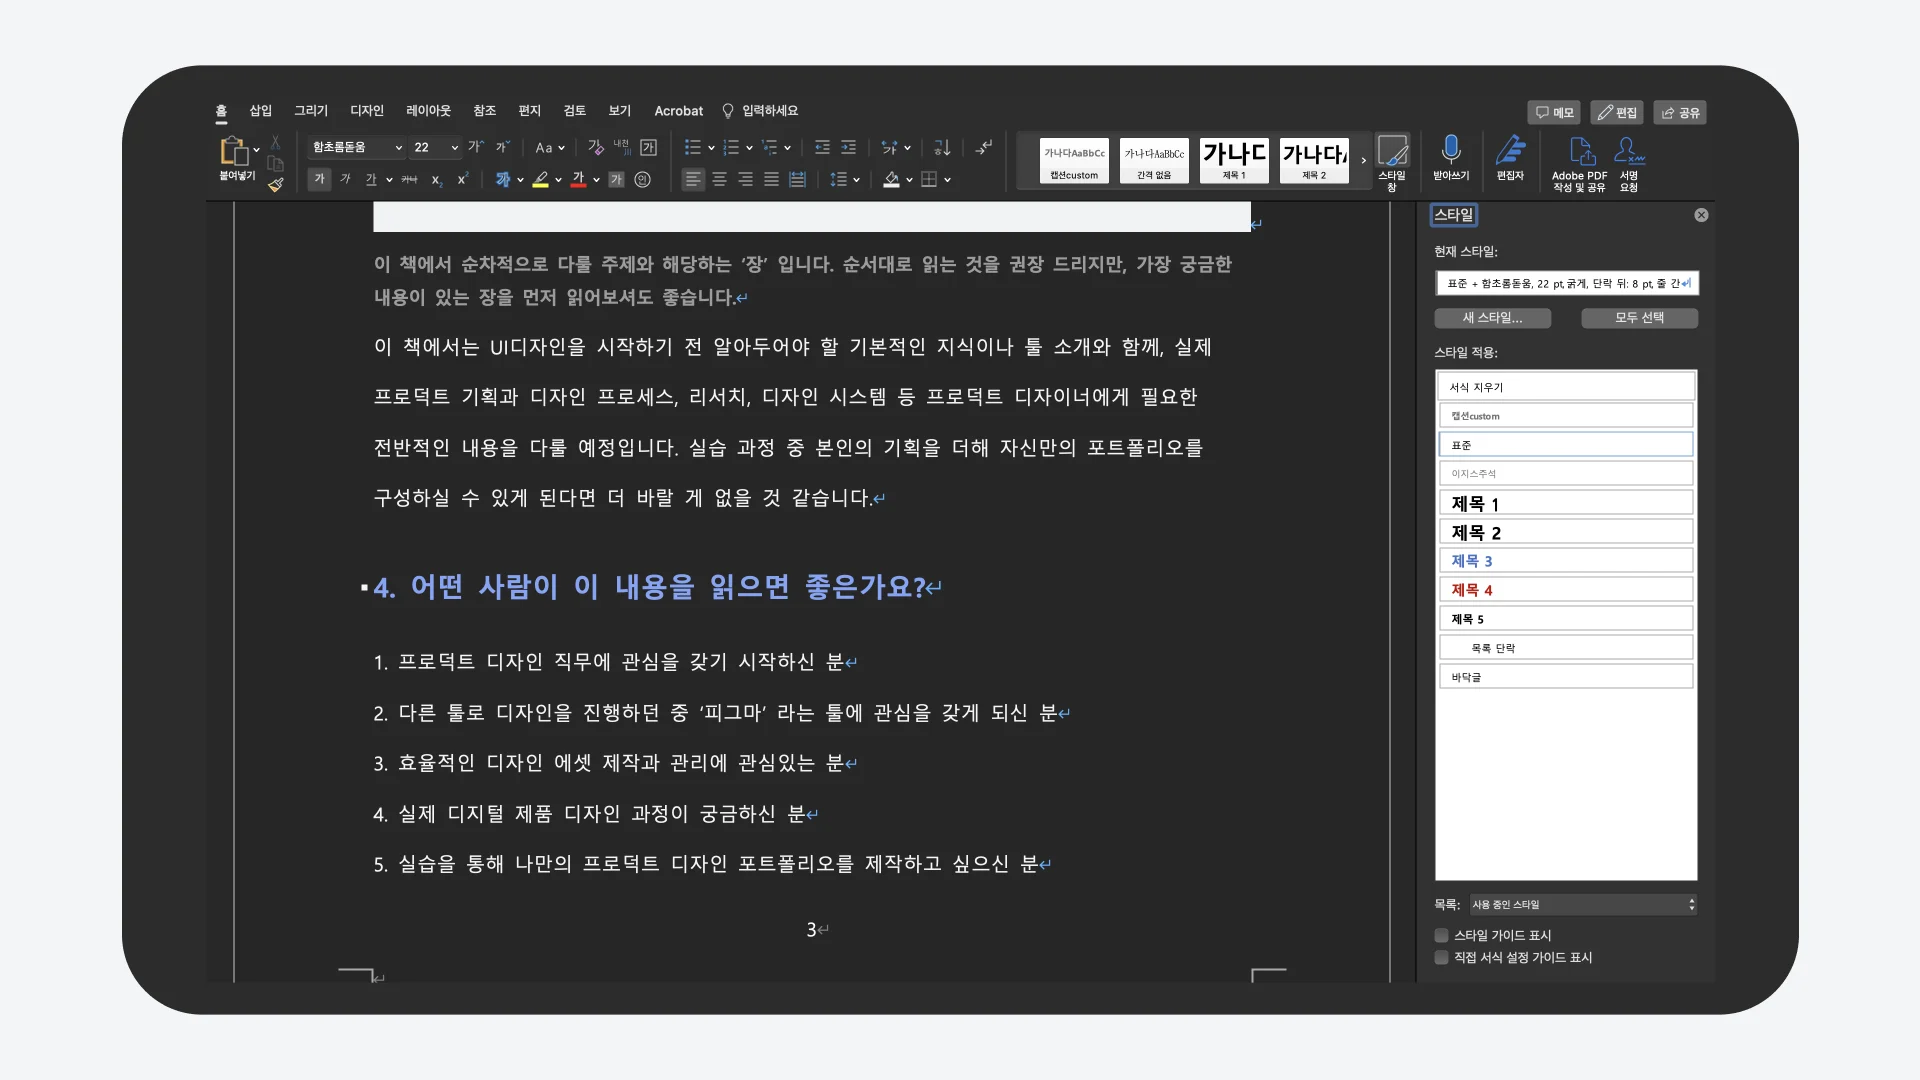
Hurdle 1: The Figma-to-Word plugin did not work properly.
Both Figma and Word have a feature called Styles. To preserve the manuscript's hierarchy, I created and applied styles in Figma that matched the hierarchy in the publisher's style guide. But when the writing was finished and it was time to transfer those styles, the plugin did not work as well as I had expected. It was frustrating to see migration take longer than I had planned, but I absolutely did not want to style every sentence in a 538-page manuscript by hand. I wanted to finish the transfer with as little work as possible and get my free time back, so I looked for another way to move the content out of Figma efficiently.
After more research, I found that the same plugin could export Figma text as CSV. Because CSV stores only text, without styling such as color or font size, using it required a few additional and somewhat cumbersome steps.
- Batch select text written in Figma by style.
- Add prefixes such as [Heading 1] and [Publisher Note], then export the text as CSV.
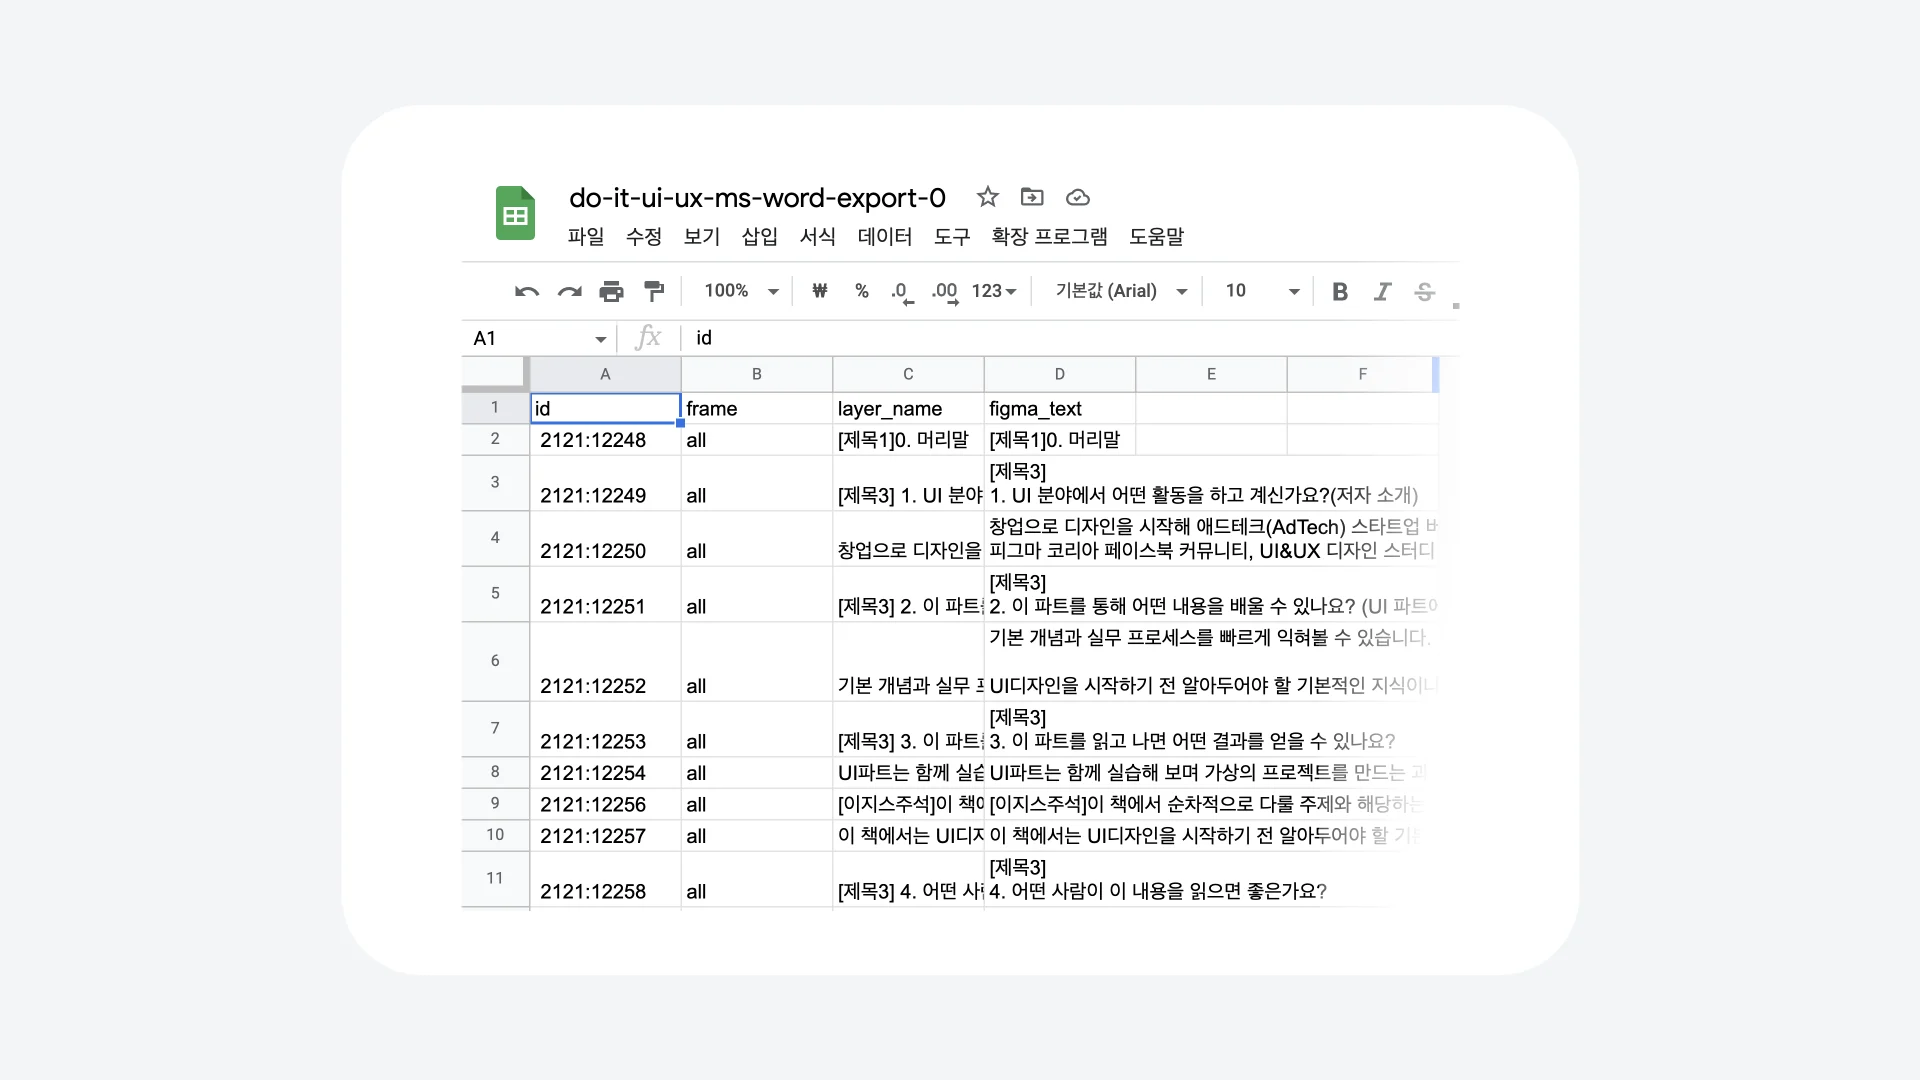
- As shown in the screenshot, open the CSV in Google Sheets, which handles CSV files well, and select only the data you need.
- Paste the text from the sheet into Word.
- Then use Word's Find and Replace feature to repeat the following for each style.
- Apply the desired Word style to every area prefixed with [Heading 1].
- Delete the [Heading 1] prefix.
Once I found and applied this process, migrating the text was fairly straightforward. But it could not place the images in the correct positions. In the end, I gave up on automating that part. I gathered and exported all 473 images, opened Word, and pasted them one by one into the relevant parts of the manuscript. I was relieved to finish without losing too much time, but I hope a better solution becomes available in the future.
Hurdle 2: The long writing period meant parts of the book had to be redone.
The publisher first approached me in April 2021, and almost two years passed before publication. Over that time, some images and explanations created early in the project no longer matched Figma's latest features and screens. Figma released several major updates during those two years. Many were welcome as a Figma user, but as an author writing about Figma, I had to review all 473 images, identify what needed to change, and recreate those parts. I continued reviewing and updating everything until publication. Fortunately, the final image files I had gathered while solving Hurdle 1 were all together in Figma, so I could scan them at a glance and minimize errors.
Hurdle 3: Proofreading happened in PDF, not Word.
After I delivered the first manuscript, the publisher and I began proofreading together. The original text was not reproduced word for word: passages were removed or added to account for length, editorial decisions, and other constraints. This was essential to making a good book, but when I received a proof it was difficult to see at a glance what the publisher had changed, how, and in what context. Connecting edited sentences could introduce wording that differed from my intent or was simply incorrect. I reviewed the proof as a PDF with the final book design applied. PDF is a common format and preserves content reliably, but it made it hard to identify exactly what wording had changed from the previous version.
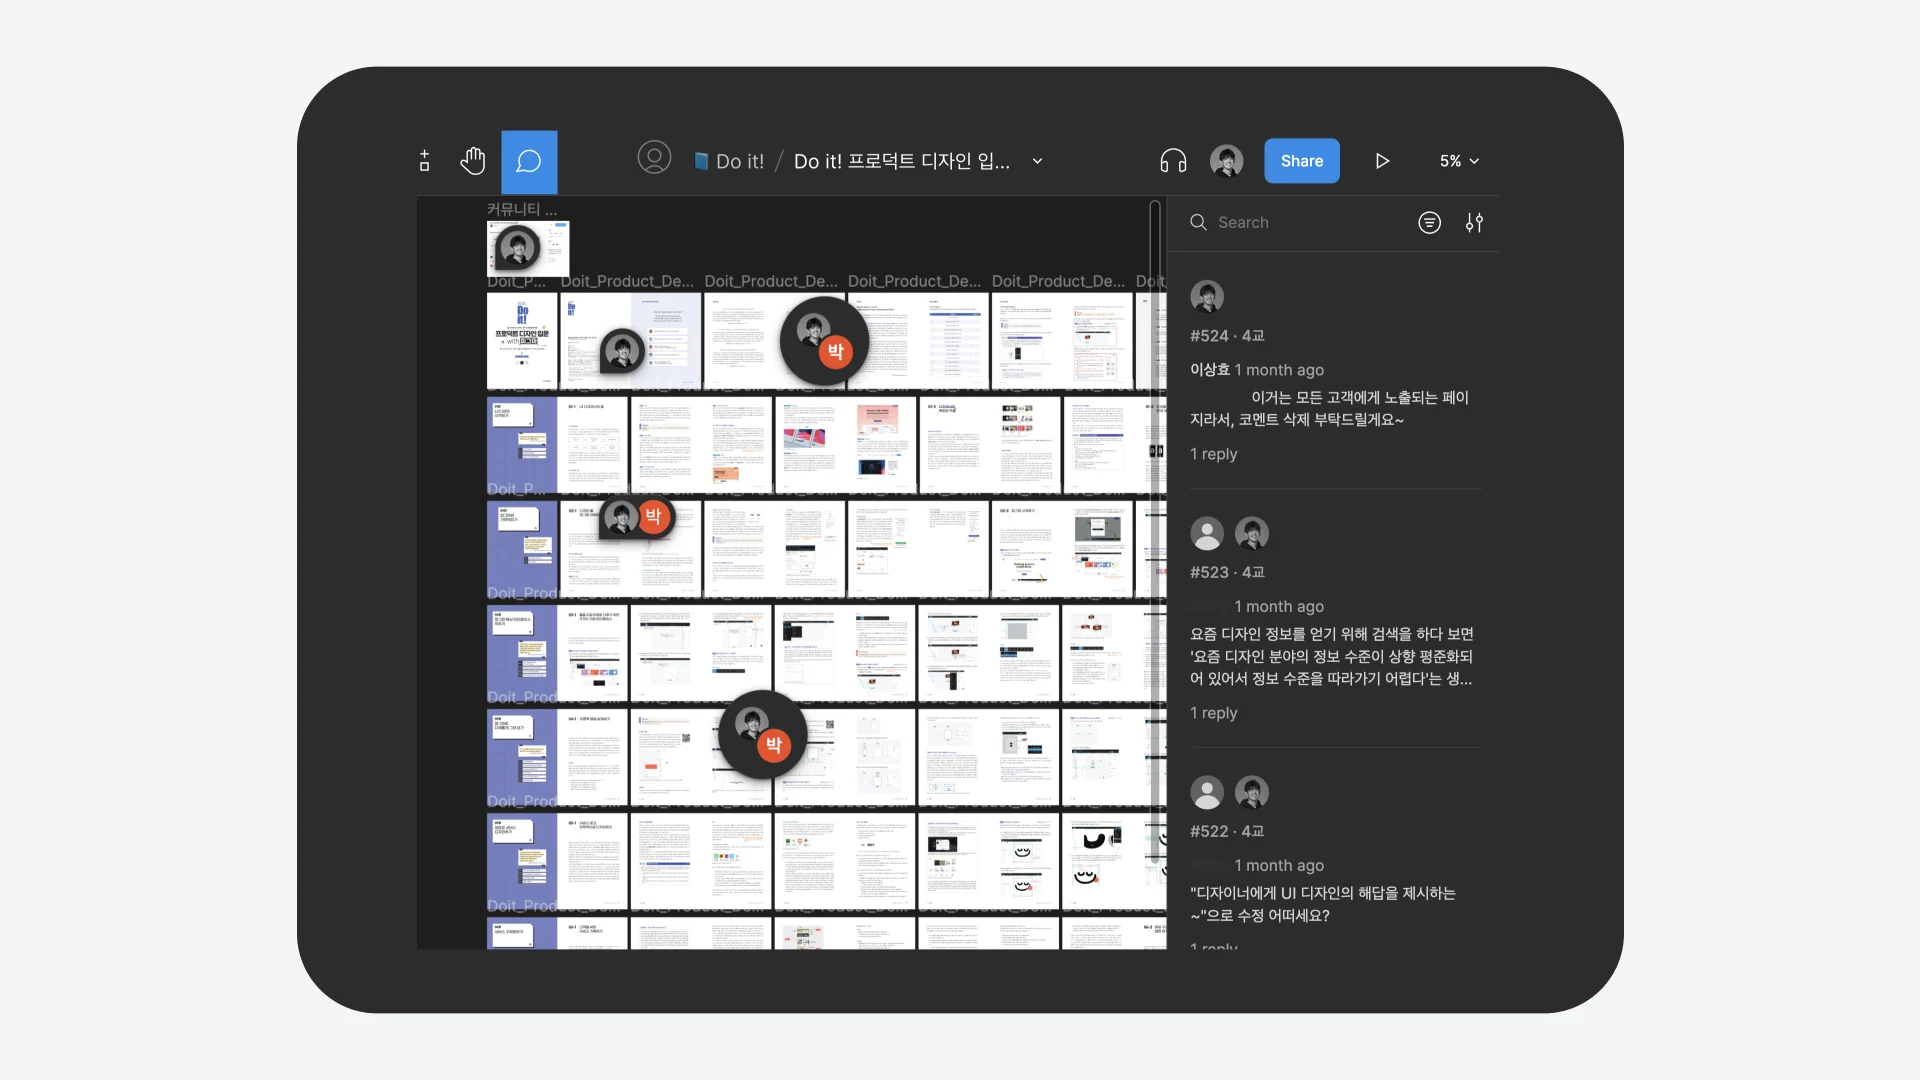
To resolve those gaps and errors as efficiently as possible, I migrated the work back into Figma. Across four rounds of typeset proofreading, I used PDF to Figma to transfer the entire PDF into Figma. I then left feedback as Figma comments on wording or content that needed correction, and the publisher and I finalized the book together.
The advantages I experienced while writing the manuscript in Figma
Advantage 1: Creating and managing the images and manuscript together was more powerful than I expected.
Because I used Auto Layout extensively, the manuscript naturally took on a format that was easy to read on the web. I could publish parts of it directly on Brunch, see readers' responses before the book was finished, and become a Brunch writer in the process. That also made it possible to share this article quickly.
Advantage 2: Figma made more parts of the work efficient than I had initially expected.
I used one tool to create and manage not only the example images and text in the book, but everything prepared to help readers learn: example videos linked through QR codes, UI prototypes, a small design system, and sample projects. Because I created everything myself, copyright was not a concern. Figma's cloud-based workflow also kept the latest file saved automatically and let me record specific versions, so I did not have to hunt for a file named [final_final.word] or manage a separate copy every time I worked.
Advantage 3: I could use the material I wrote in my classes.
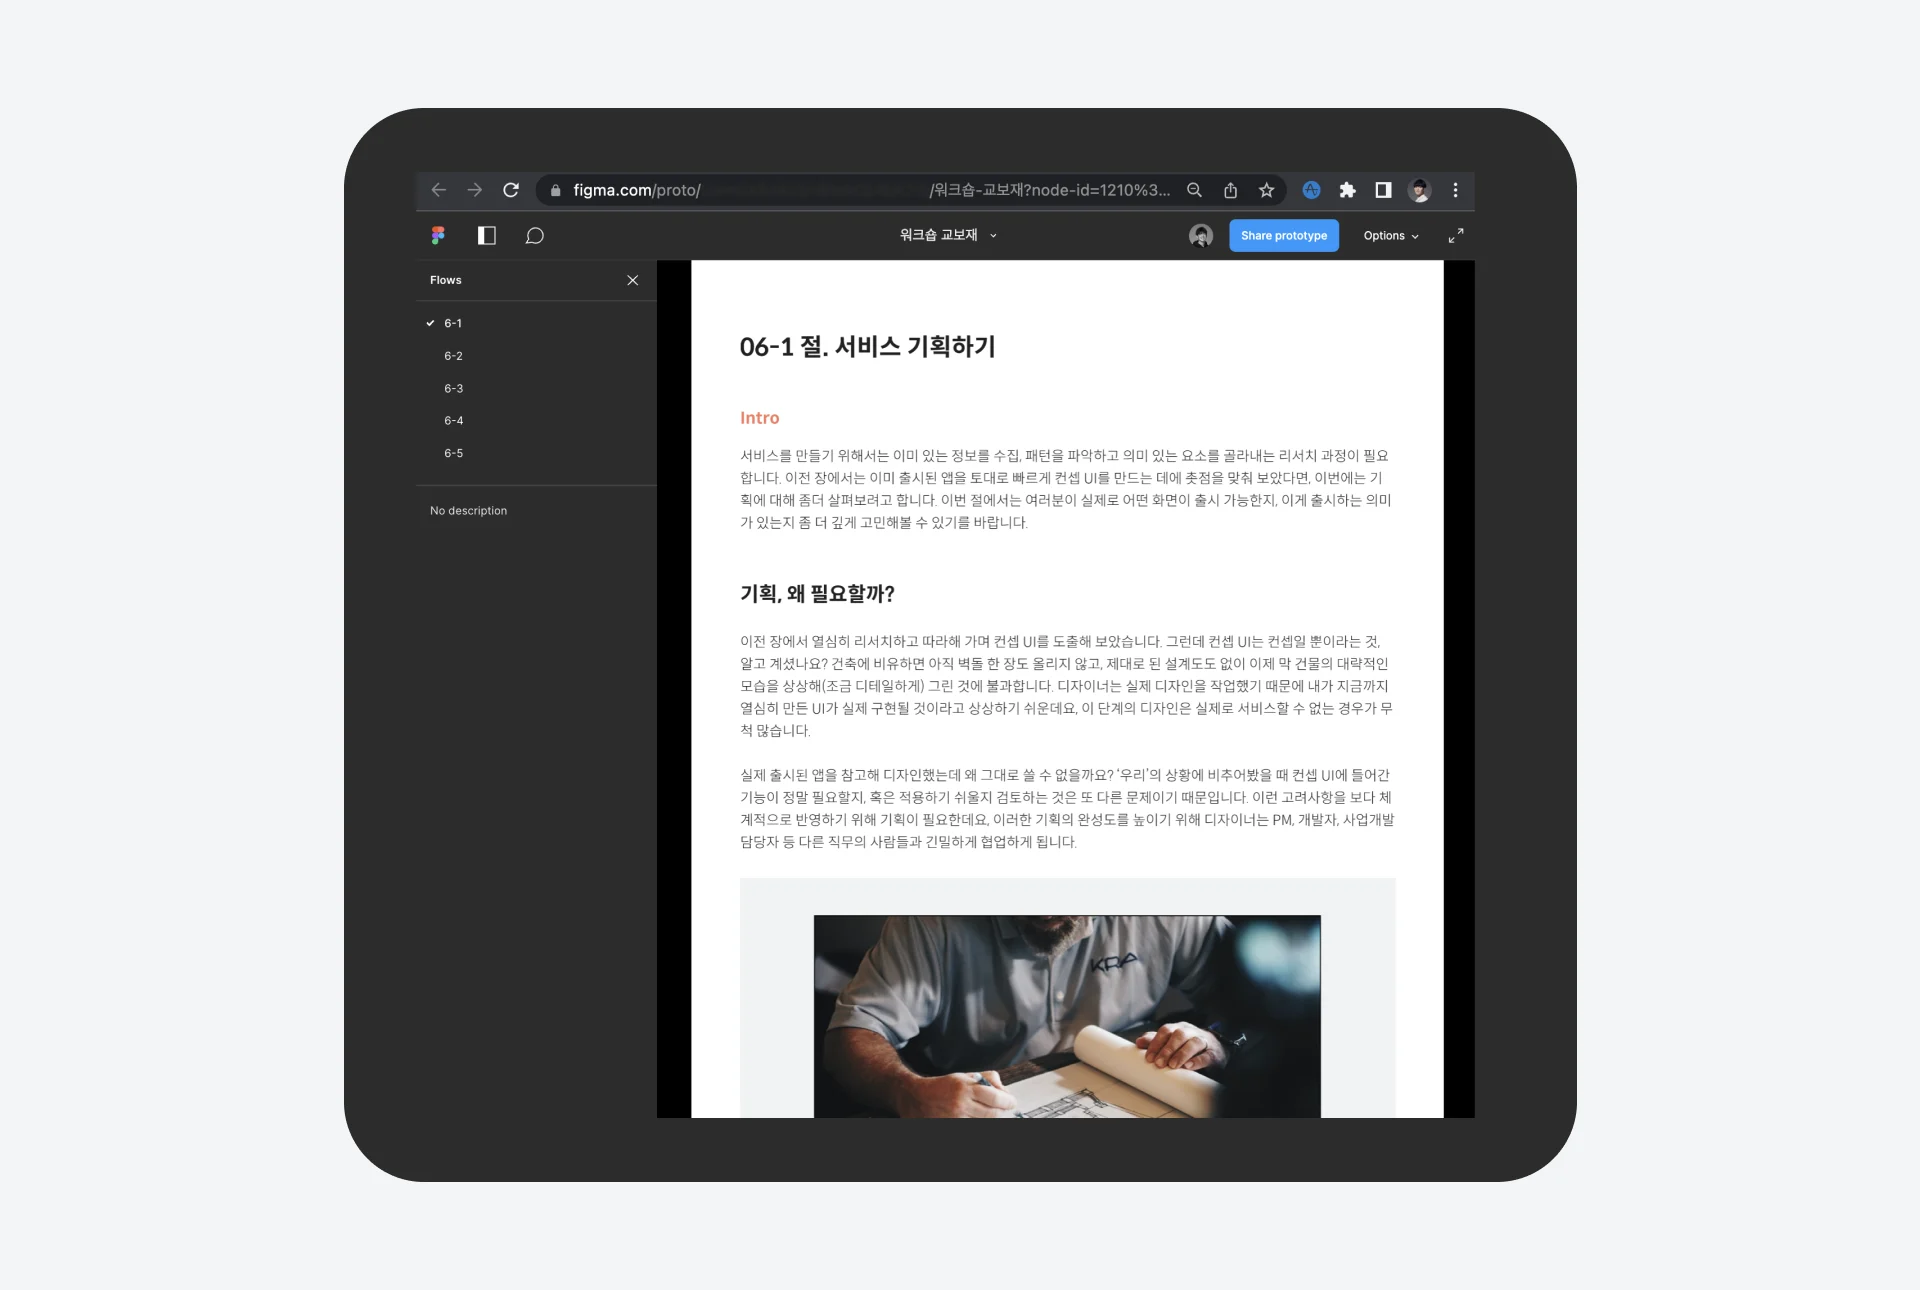
While writing the book, I received several welcome invitations to teach related classes. I realized I could share parts of the manuscript with students and use them as teaching materials. Figma made it easy to share a project through a link. I could add a password for basic security without spending much time repackaging the work for class. Refining and sharing the manuscript helped me prepare more substantial design classes. Because the material had already been developed with care, it also helped improve the classes, while insights and improvements that emerged during teaching could flow back into the book.